ResearchUpdated
How we solved GPT Images 2 grime effect inside plnty

- Research
- Image
- Art direction
- Workflow
We analyzed 37,708 GPT Image 2 and 2.5 outputs from 982 people. A small two-pixel pattern kept appearing with the same orientation. It gave us something precise to test before attempting a broader cleanup.
The diagram amplifies that pattern. Its visibility here is deliberate; in an original image the signal is much fainter.
Reconstructed pattern · contrast amplified
Normalized representative cell
of the GPT sample shared the same light–dark orientation in the measured pattern.
This does not mean 97.4% of the images looked visibly grainy.
 Original
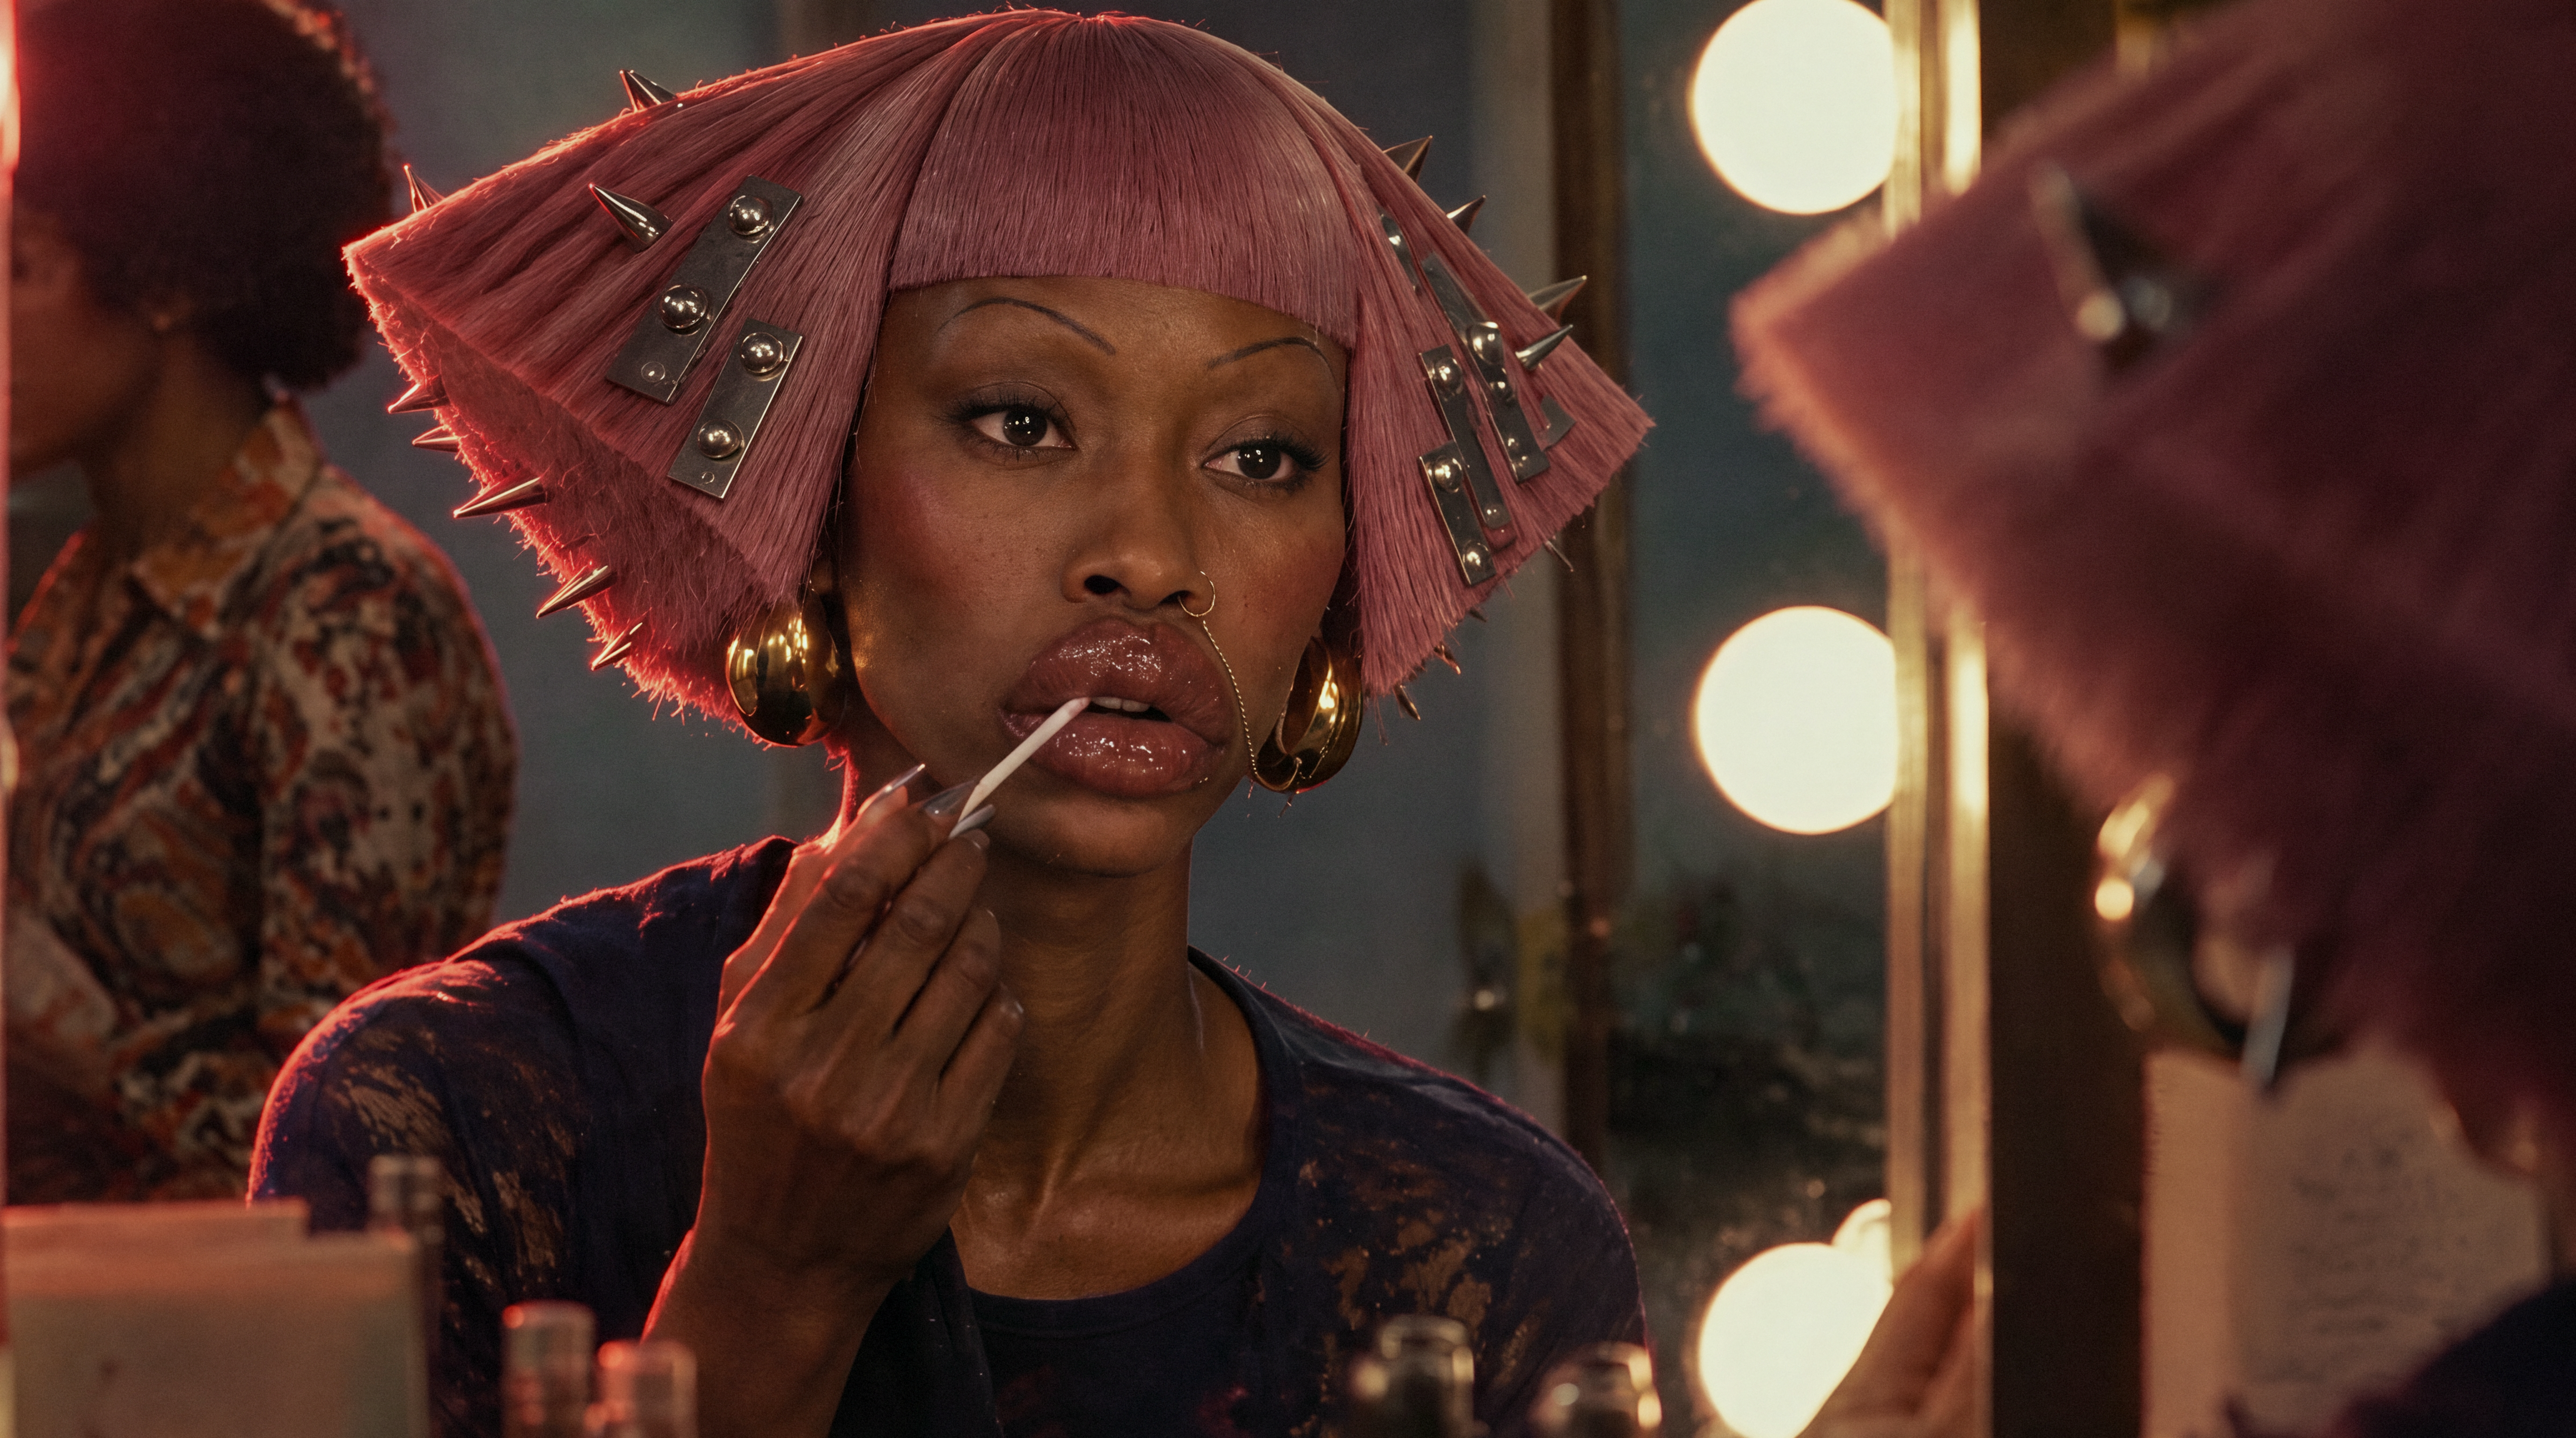 plnty cleanup
Loading comparison…Image could not load. Open its PNG under Inspect files.
Loading comparison…Image could not load. Open its PNG under Inspect files.
Inspect files 100% view & native PNGs
Complete saved prototype result, including its finishing stages; this is not a surface-only comparison. No surface mask was found. The final includes light grain.
Close-ups use 16:9 windows around matching detail locations, widened with surrounding source pixels and shifted inward at image edges. Reconstruction can move or redraw details; these views are not registered.
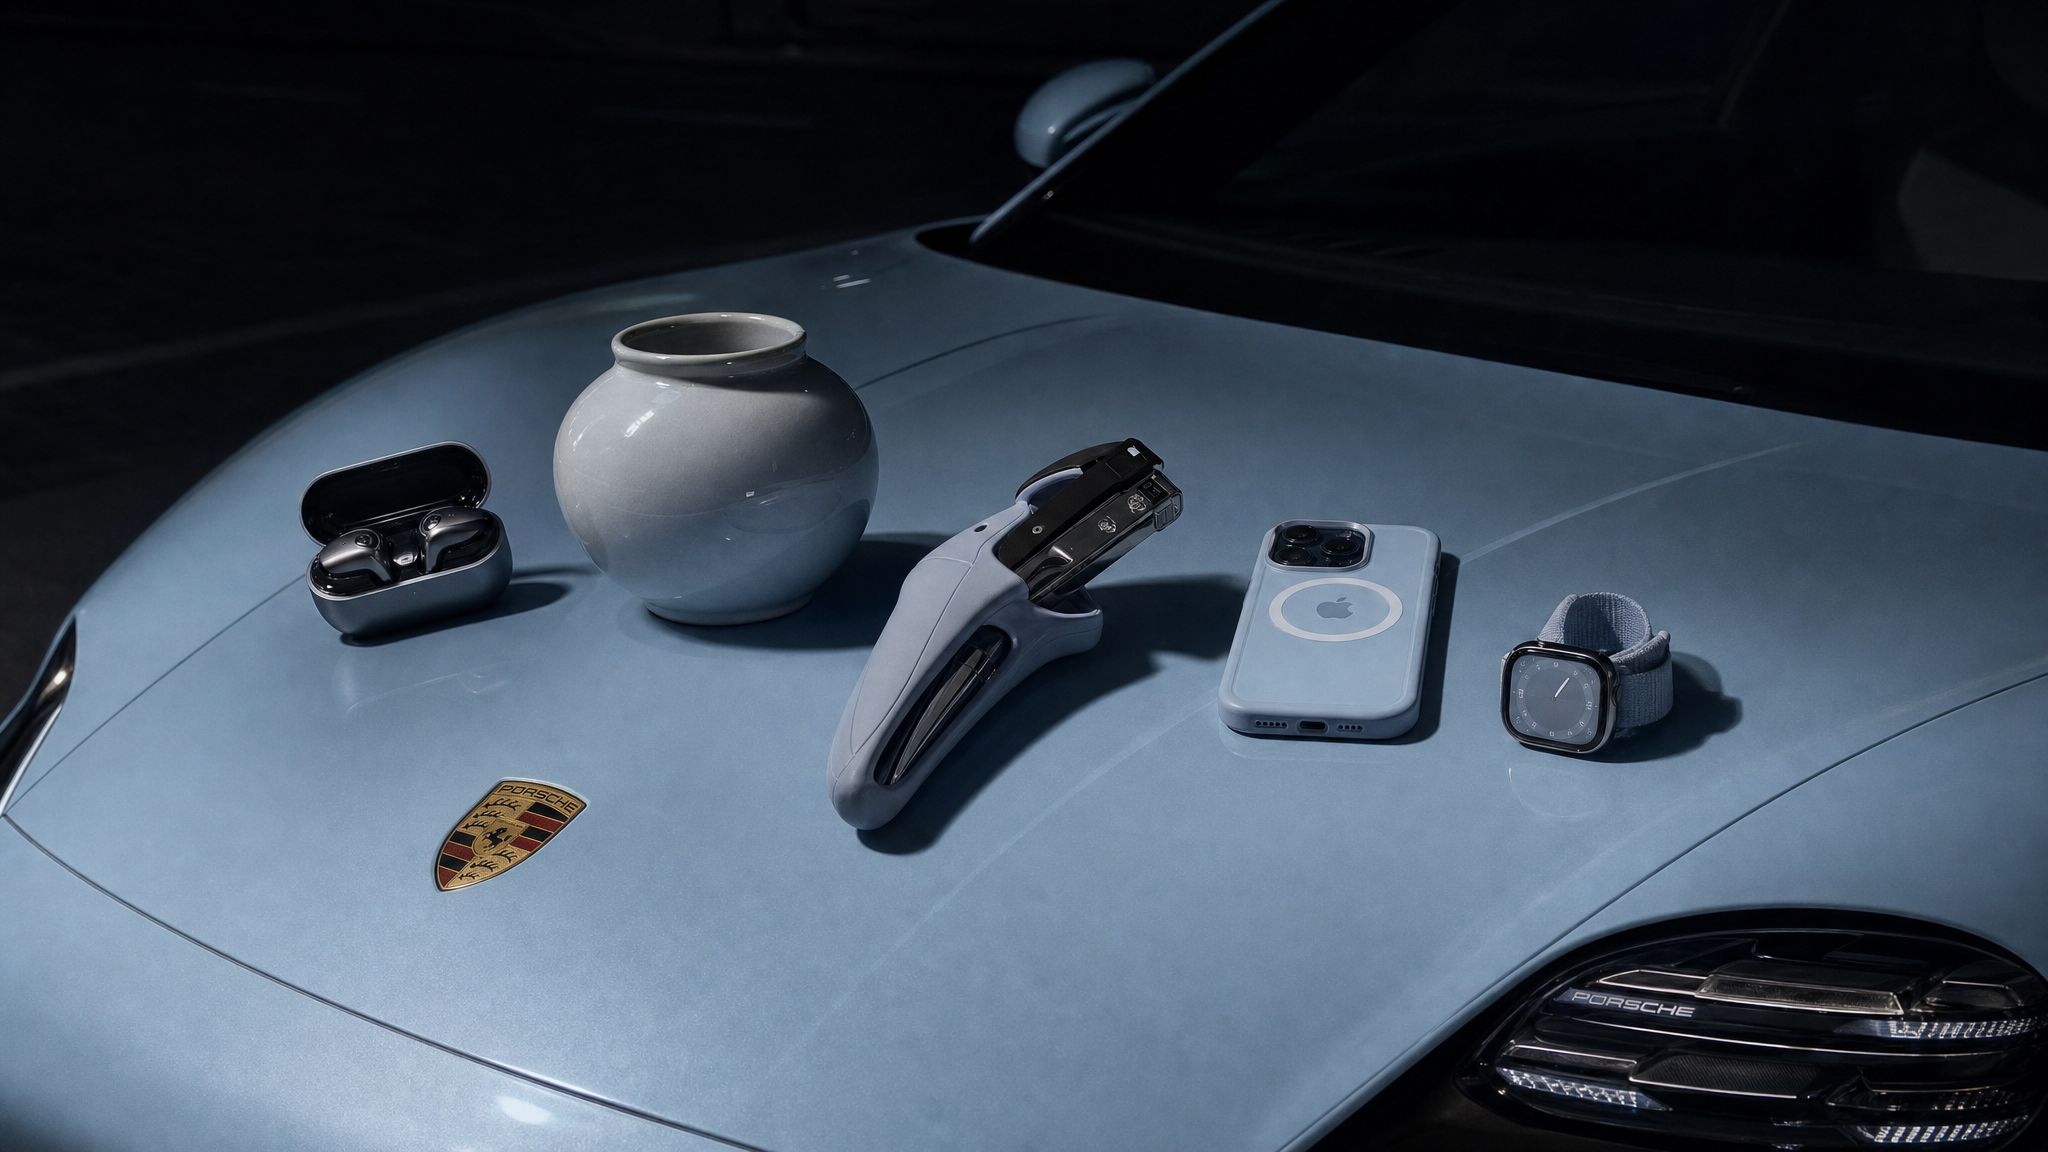 Original
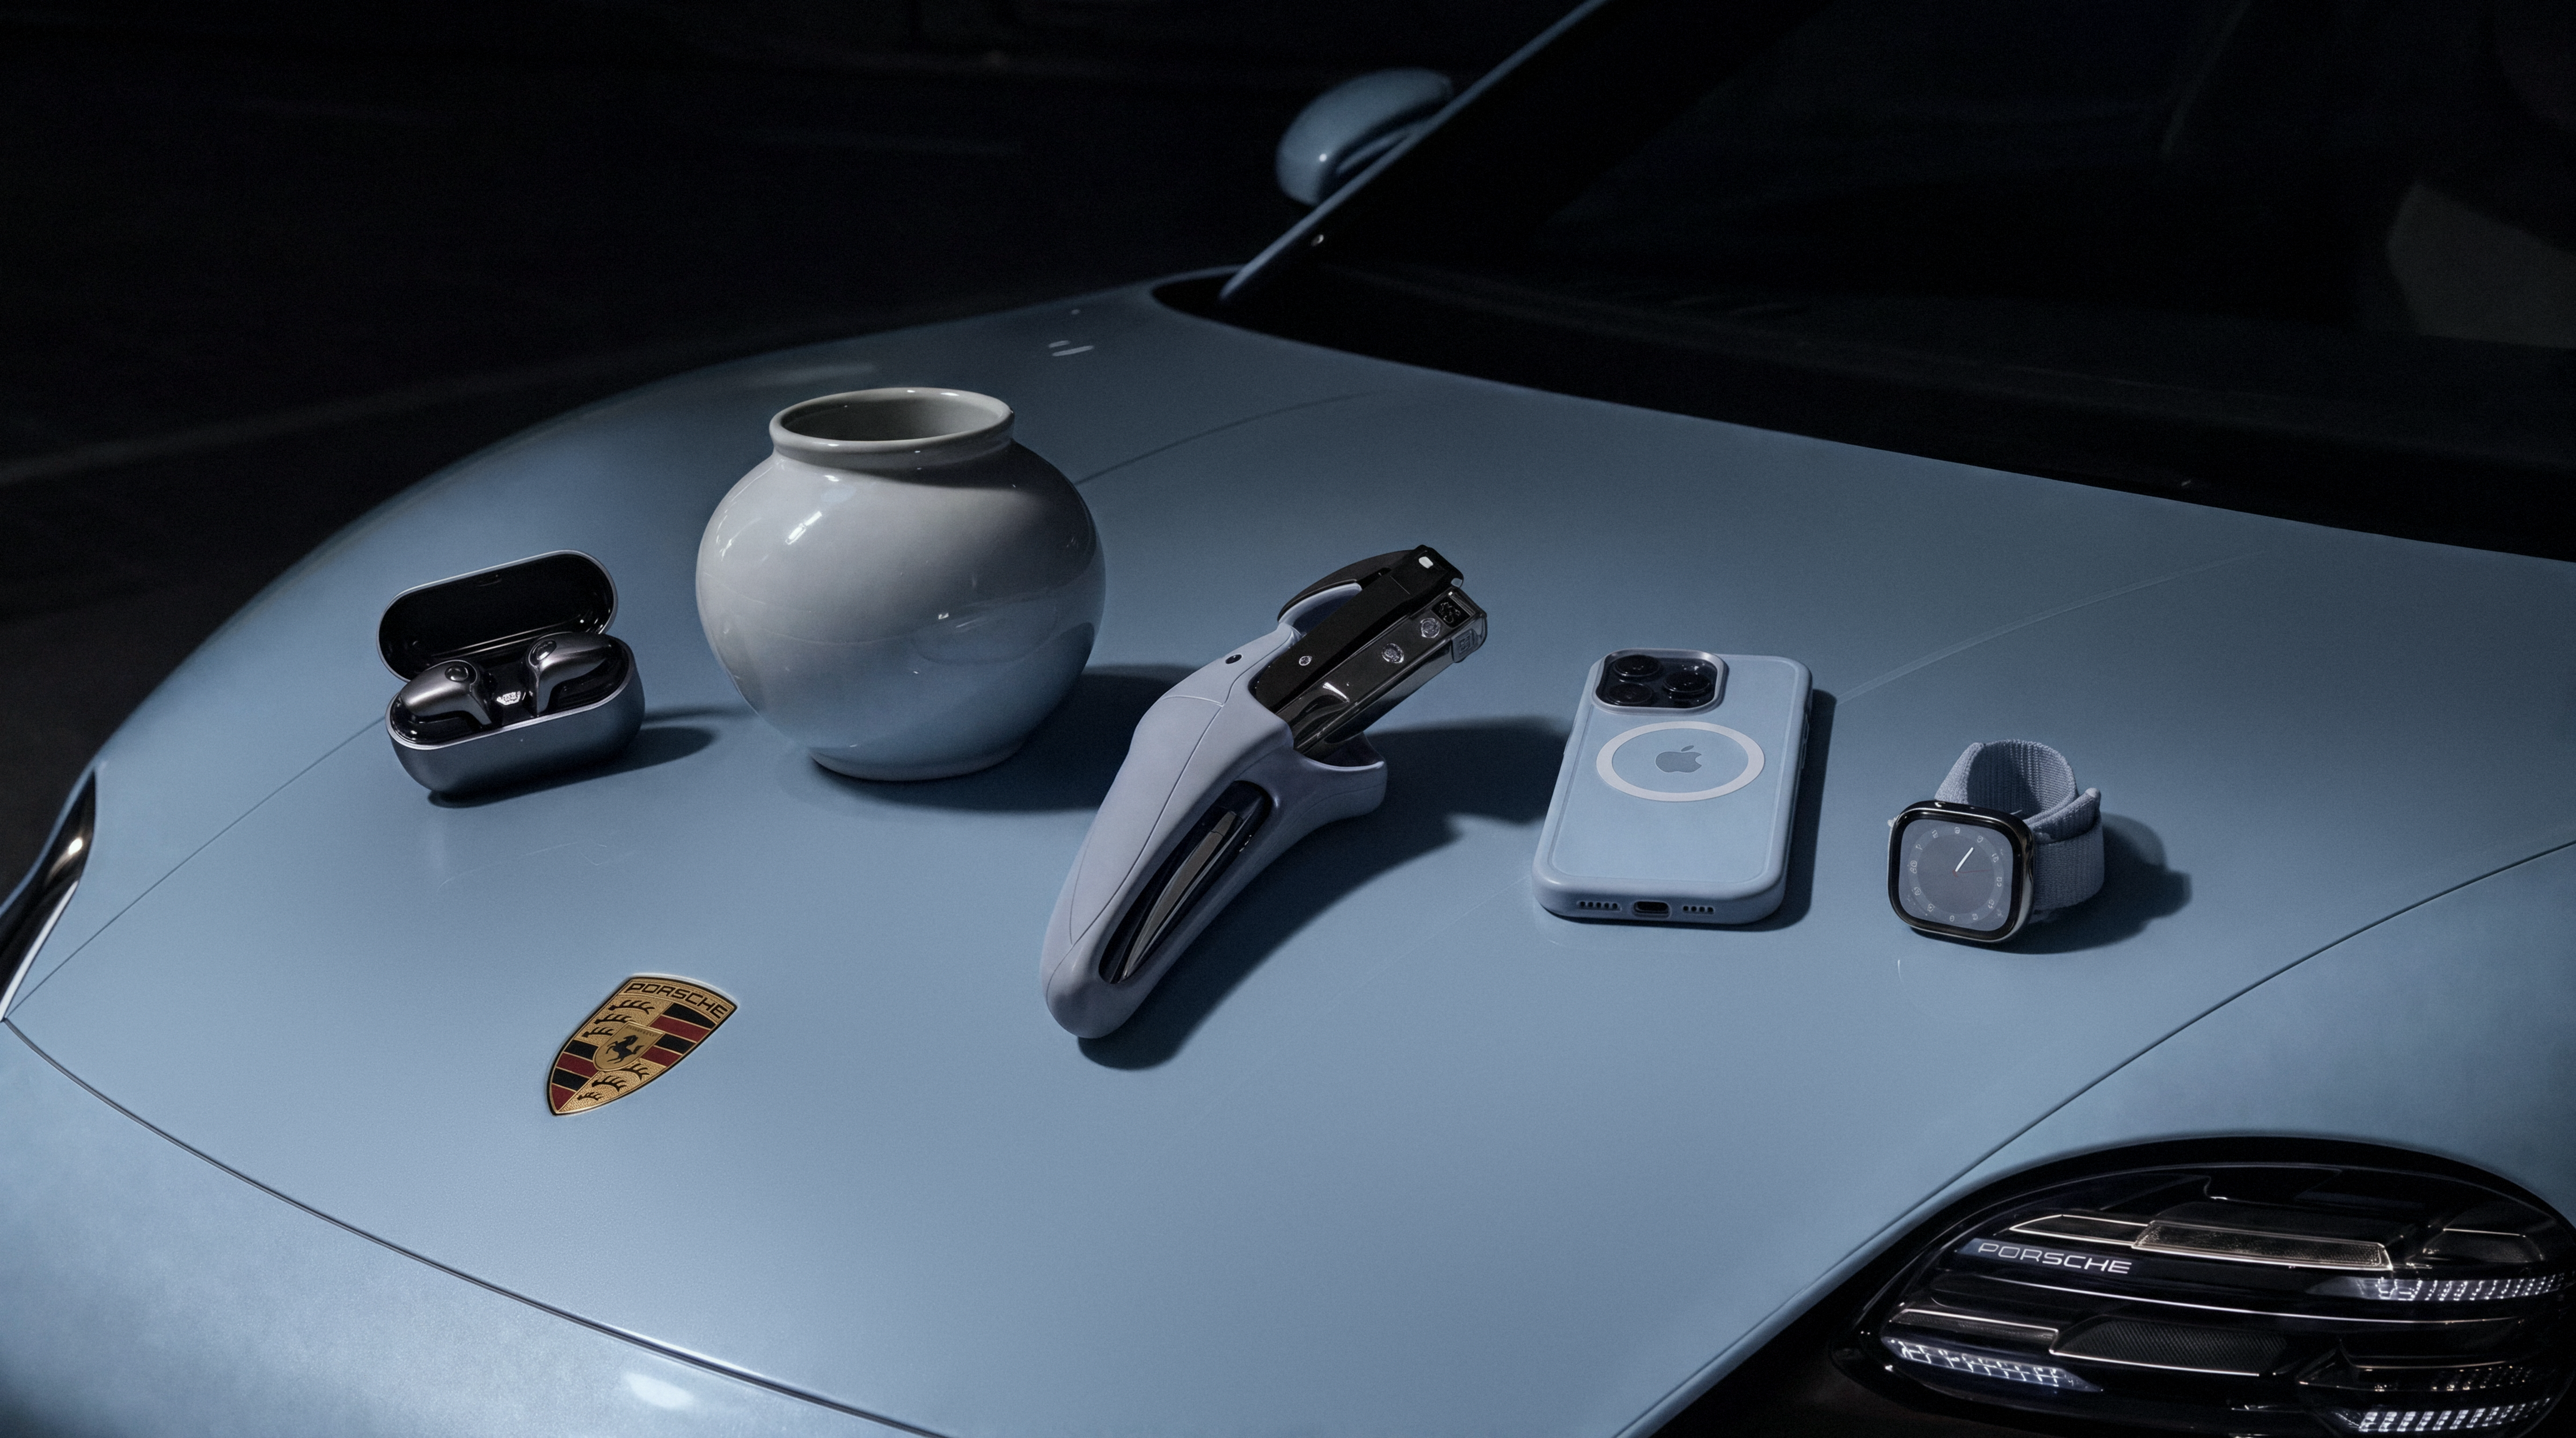 plnty cleanup
Loading comparison…Image could not load. Open its PNG under Inspect files.
Loading comparison…Image could not load. Open its PNG under Inspect files.
Inspect files 100% view & native PNGs
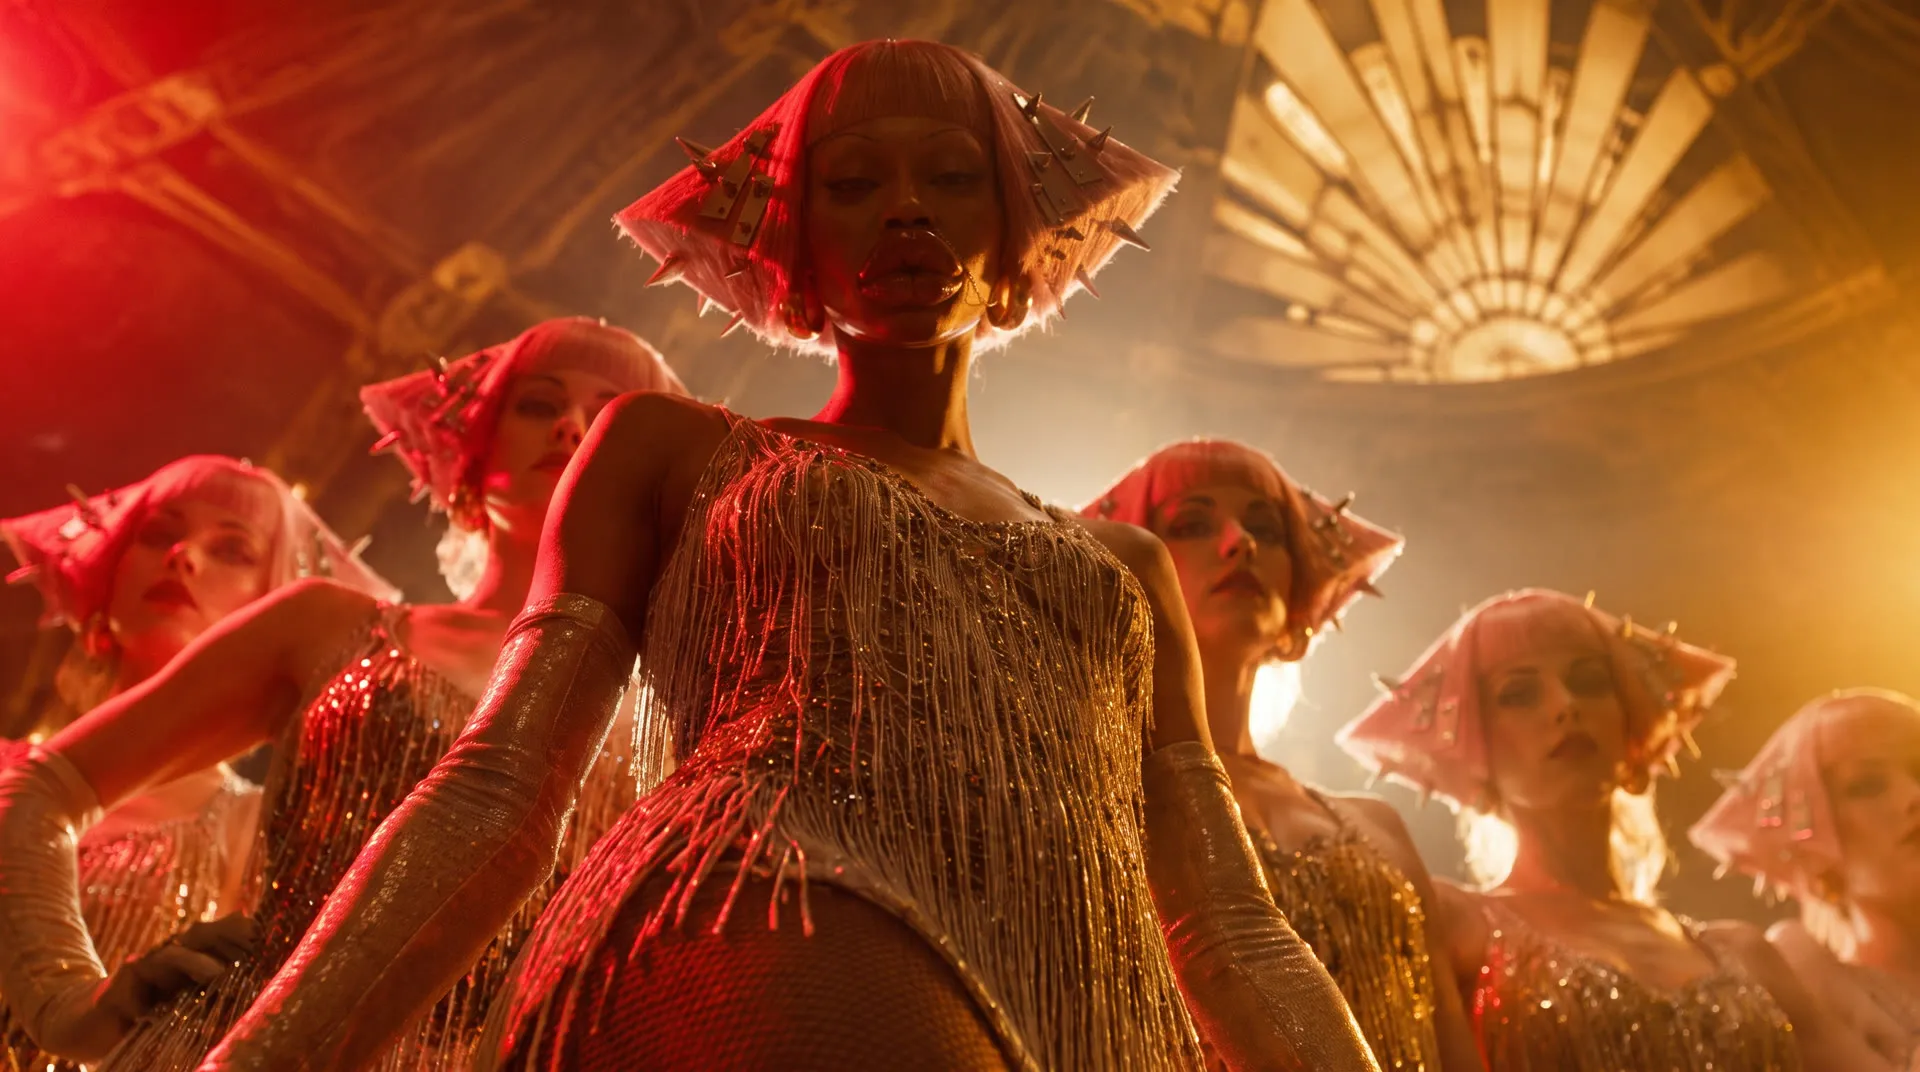
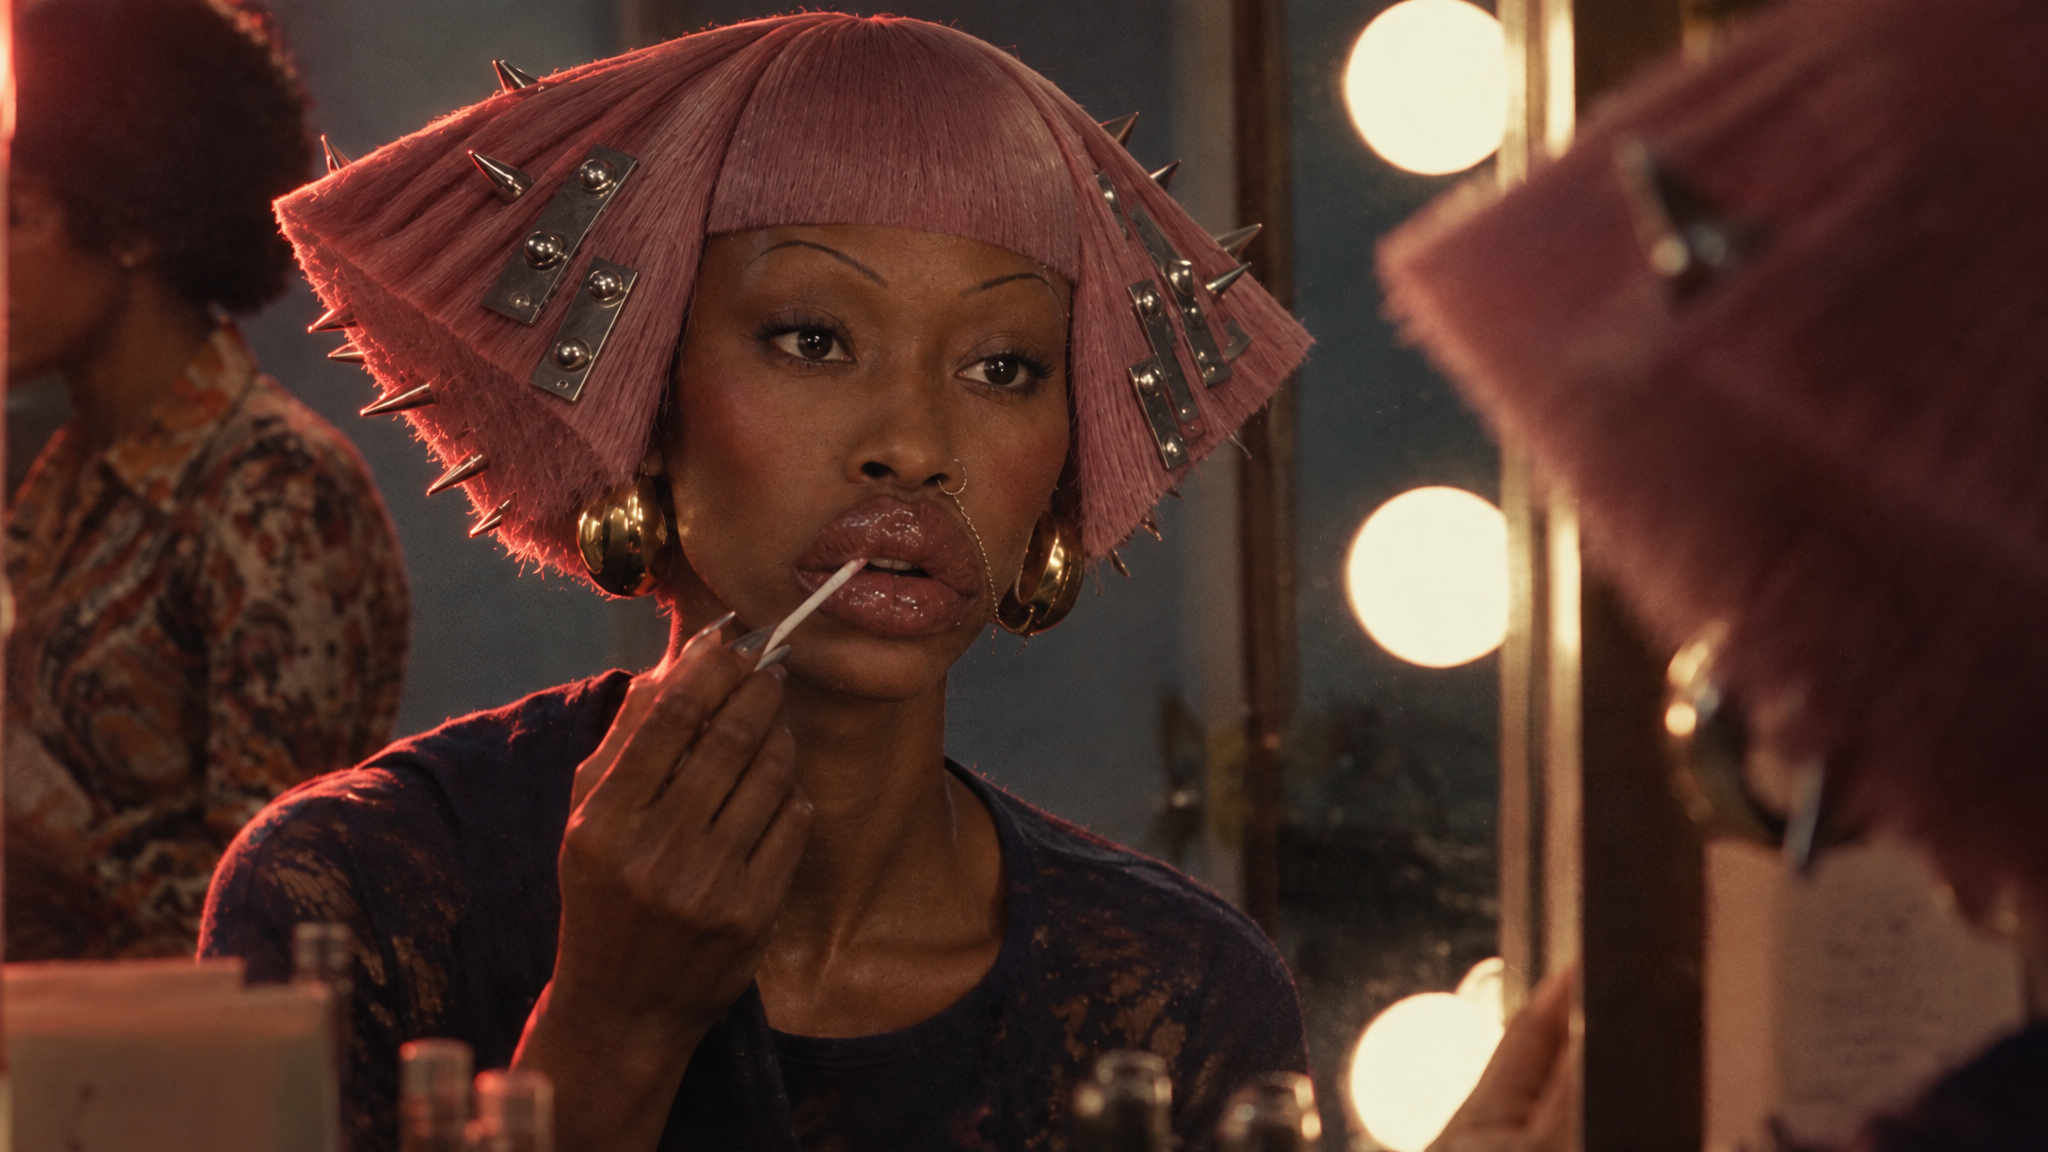
Complete saved prototype result, including its finishing stages; this is not a surface-only comparison. The hood received the surface step, followed by light grain.
Close-ups use 16:9 windows around matching detail locations, widened with surrounding source pixels and shifted inward at image edges. Reconstruction can move or redraw details; these views are not registered.
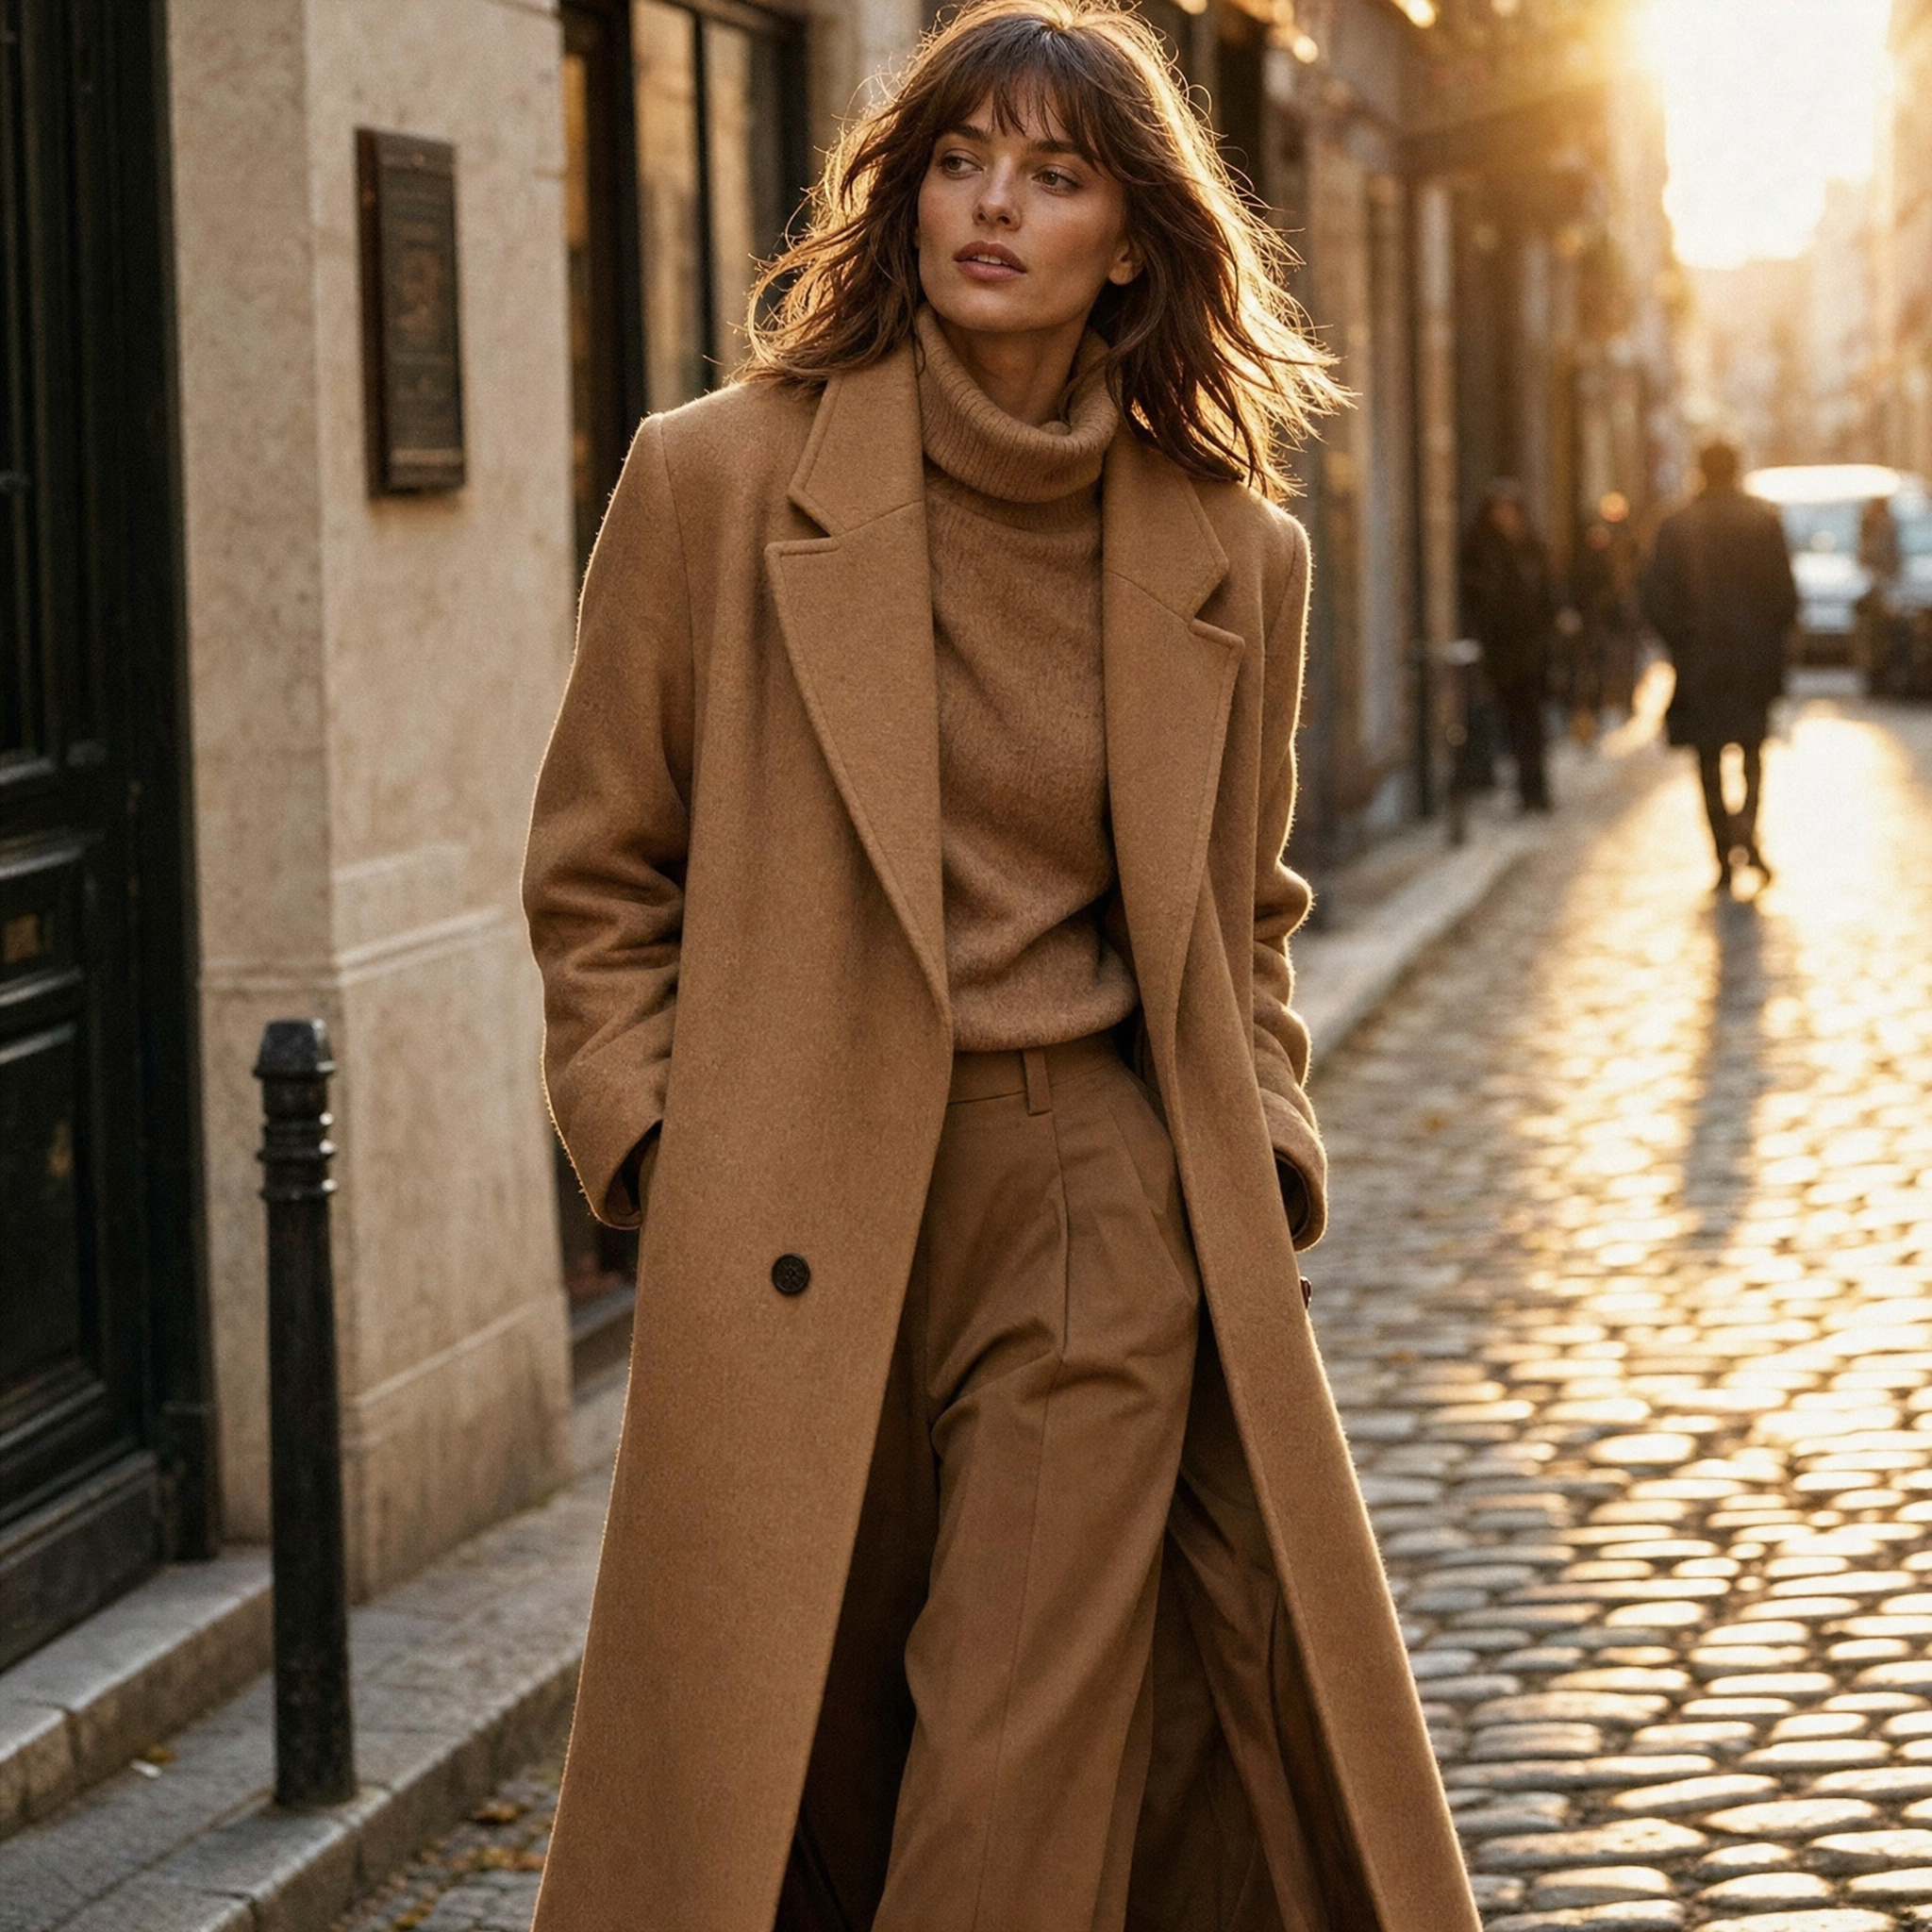 Original
 plnty cleanup
Loading comparison…Image could not load. Open its PNG under Inspect files.
Loading comparison…Image could not load. Open its PNG under Inspect files.
Inspect files 100% view & native PNGs
Selected repeat of the same reconstruction settings from the original input, followed by color correction and light grain. No smooth surface was selected and no optional detail repairs ran. The earlier run added door hardware absent from the input; this repeat avoids that addition. Selecting a better repeat does not establish reliable object preservation.
Close-ups use 16:9 windows around matching detail locations, widened with surrounding source pixels and shifted inward at image edges. Reconstruction can move or redraw details; these views are not registered.
 Original
 plnty cleanup
Loading comparison…Image could not load. Open its PNG under Inspect files.
Loading comparison…Image could not load. Open its PNG under Inspect files.
Inspect files 100% view & native PNGs
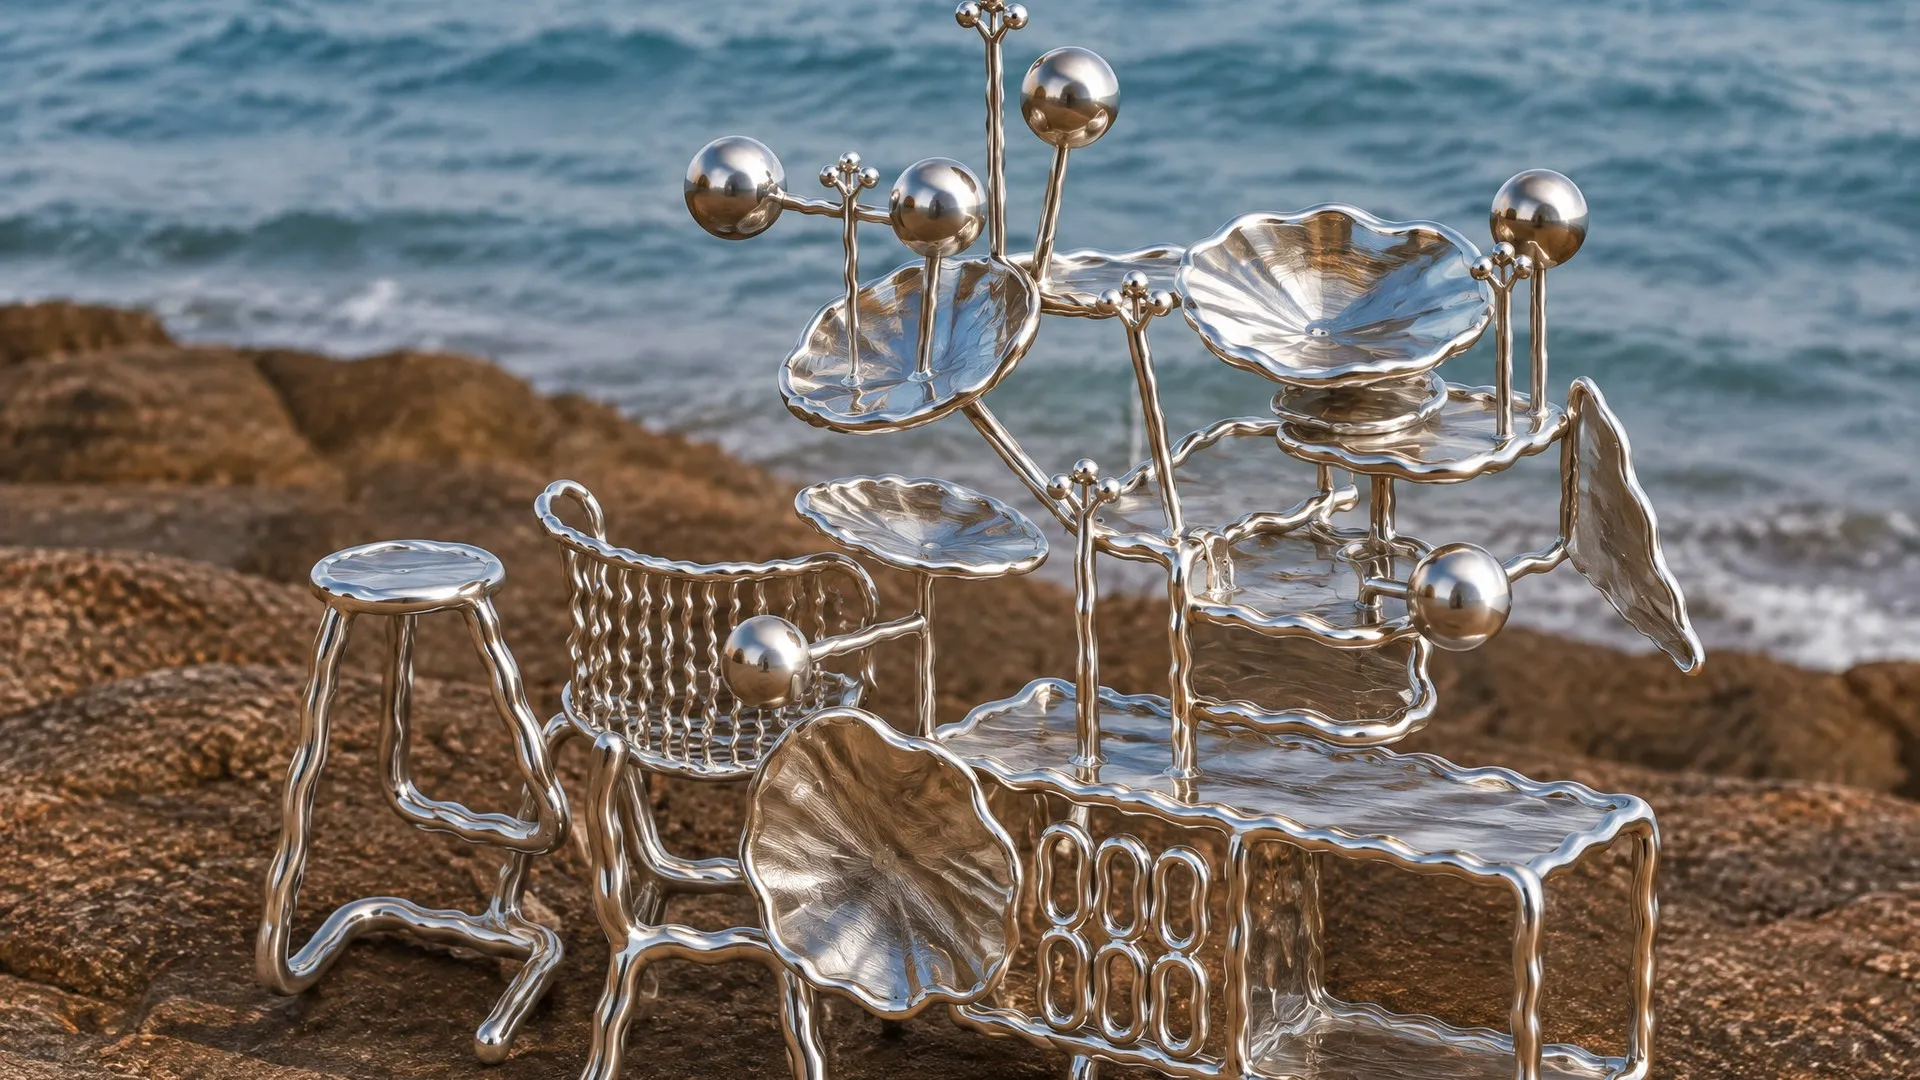
Complete saved prototype result, including its finishing stages; this is not a surface-only comparison. No surface mask was found. Optional detail repairs are shown separately.
Close-ups use 16:9 windows around matching detail locations, widened with surrounding source pixels and shifted inward at image edges. Reconstruction can move or redraw details; these views are not registered.
 Original
 plnty cleanup
Loading comparison…Image could not load. Open its PNG under Inspect files.
Loading comparison…Image could not load. Open its PNG under Inspect files.
Inspect files 100% view & native PNGs
Complete saved prototype result, including its finishing stages; this is not a surface-only comparison. Selected product-specific repeat, run 2 of 2. Two successful repeats do not establish reliable text preservation.
Close-ups use 16:9 windows around matching detail locations, widened with surrounding source pixels and shifted inward at image edges. Reconstruction can move or redraw details; these views are not registered.
Five development tests. Start with the close-up, then choose Full image to see what else changed. These are saved prototype results; the methods explain how they differ from the browser implementation.
Removing the repeating pattern barely changed how the image looked. That sent us through more rounds of testing, from keeping the original colors to smoothing a surface without wiping out its texture.
01 / Problem
A good image with the wrong surface
People describing GPT Image 2 texture artifacts on Reddit call them tiling and grime, repeating noise patterns and weird texture. The composition works, but a surface that should look clean appears dirty. Generating again risks losing the image you liked.
We wanted to keep GPT Image’s creative choices. Fifteen staff comparisons with other generators, using the same briefs and references, produced different creative decisions. We made cleanup a separate operation on the chosen image.
From Yam
I was shocked by how consistently the grain appeared. Analyzing so many images gave us a way to test it. Solving it took iteration after iteration.
Working through the tests
I worked with GPT-6 Astra and Opus 5.5 through repeated rounds of analysis, code and image comparisons. I’d look at the results, point out what still felt wrong, and we’d test another approach.
The hard part was deciding what counted as better. A cleaner surface could come with a thinner bag strap, a shifted color or a small object that had changed shape. Each round gave us something more specific to check in the next one.
02 / Signal
Measure the pattern, then test what it explains
We gave the repeating pattern a score, T₂. It measures light–dark alternation every two pixels: along rows, down columns and in a checkerboard pattern.
The middle score in our GPT sample was 3,474, compared with about 15 across the four comparison model families pooled together. The regular pattern stood out strongly. That score does not tell us how dirty an image looks or what caused it.
The equation turns the image into brightness values, subtracts a blurred copy to isolate fine variation, then checks for repetition. We use the original pixels because resizing can weaken or move the signal.
All sums run over every pixel of an even-sized image.
Subtracting the pattern barely changed the image
We tested whether removing the pattern would remove the grime. We rebuilt it as a faint repeating layer and subtracted it from the car image.
The score fell from roughly 5,257 to almost zero. The cloudy finish stayed. Each red, green or blue value changed by less than one step on the usual 0–255 scale. In the comparison below, the two images look almost identical.
Removing the measured pattern barely helped. We needed to deal with the broader patches and uneven surfaces too.
Inspect the periodic-subtraction control ↗
Original input · I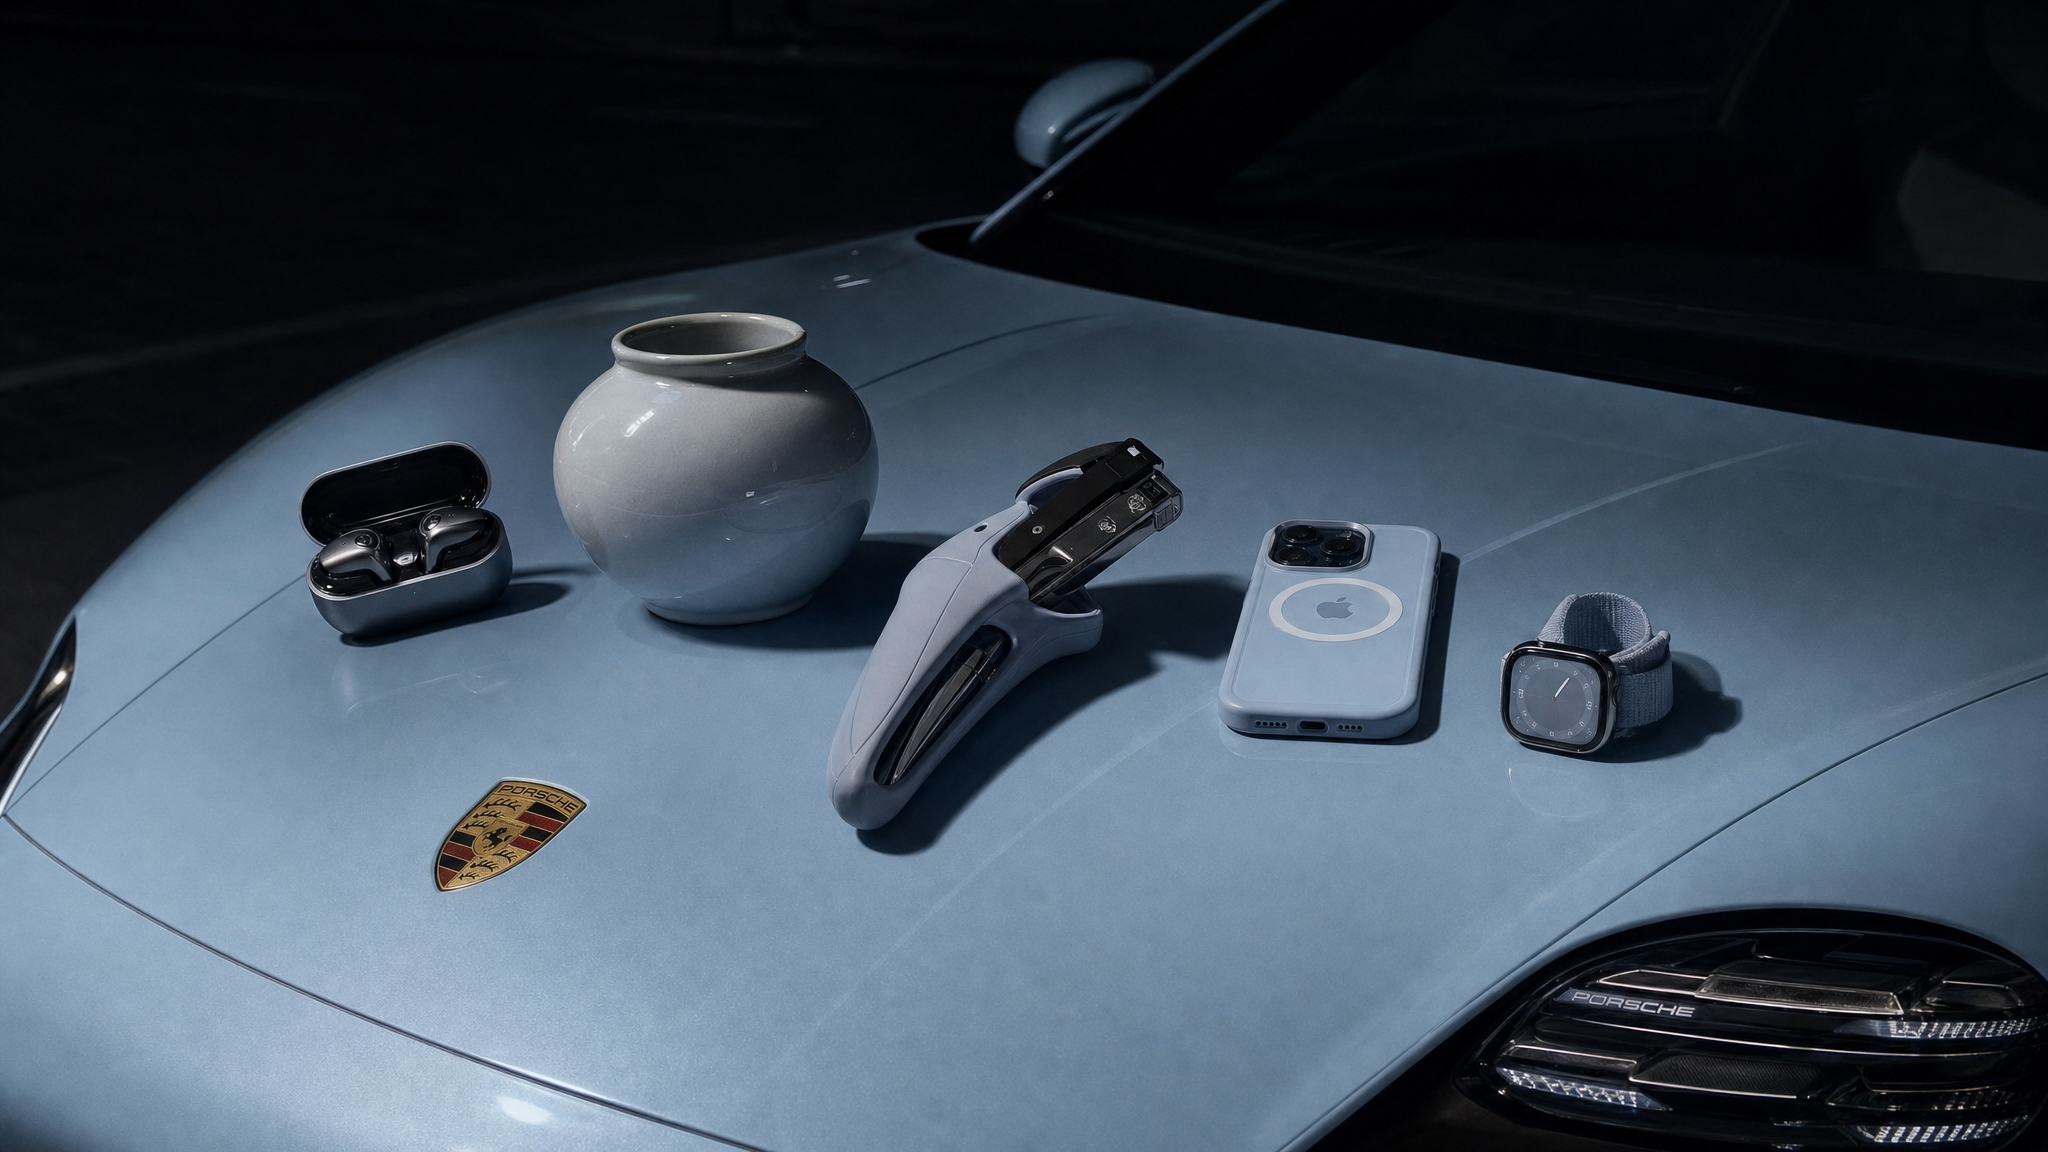 Periodic component subtracted · 16-bit PNG
Loading comparison…Image could not load. Open its PNG under Inspect files.
Loading comparison…Image could not load. Open its PNG under Inspect files.
Inspect files 100% view & native PNGs
Only the measured two-pixel component is subtracted. No reconstruction, color correction, surface filtering or grain is applied.
Close-ups use 16:9 windows around matching detail locations, widened with surrounding source pixels and shifted inward at image edges. Reconstruction can move or redraw details; these views are not registered.
Inspect the subtraction control
03 / Solution
Give each step a specific job
The useful cleanup starts by reconstructing the image. We choose the treatment for the kind of image: a product needs particular care around lettering and material texture; a photograph has skin and fabric to consider. In the opening formula, this is ℛ. Its output is J₁.
That first result still needs checking. We then bring the colors back toward the original, treat selected surfaces and add a light finish where appropriate. The pass gallery follows one car image through those steps. Each tab shows what that operation changed.
Anchor the palette
A cleaner image can come back with the wrong palette. Copying a blurred color difference back onto it could also restore old edges as faint double outlines.
We use one restrained RGB adjustment across the whole image instead. We compare blurred color samples, avoid strong edges and limit how far the adjustment can push a color. If the images no longer match well enough, we skip this step.
In the Color tab, look at the hood’s tone. The palette moves closer without pasting back the original shapes.
Select the surface before smoothing it
The car hood needs smoothing; the camera sitting on it has small details to protect.
We make masks for surfaces that should be smooth, rejecting regions that are too small or too textured. Then we pull the masks slightly inward and soften their edges so the correction blends in.
The Surface tab shows the saved mask and a lilac overlay of where the correction applies.
Separate broad blotches from fine texture
We separate broad changes in tone from fine detail, then work on the broad part while holding the fine part aside. This lets us target cloudy patches without directly filtering all the texture.
Three guided-filter passes work from smaller to larger areas. We recombine the parts and blend the correction through the mask. The Surface comparison shows the unevenness that subtracting the two-pixel pattern left behind.
The equation describes the browser implementation. The saved prototype examples use related steps, with differences documented in the methods.
Original input · I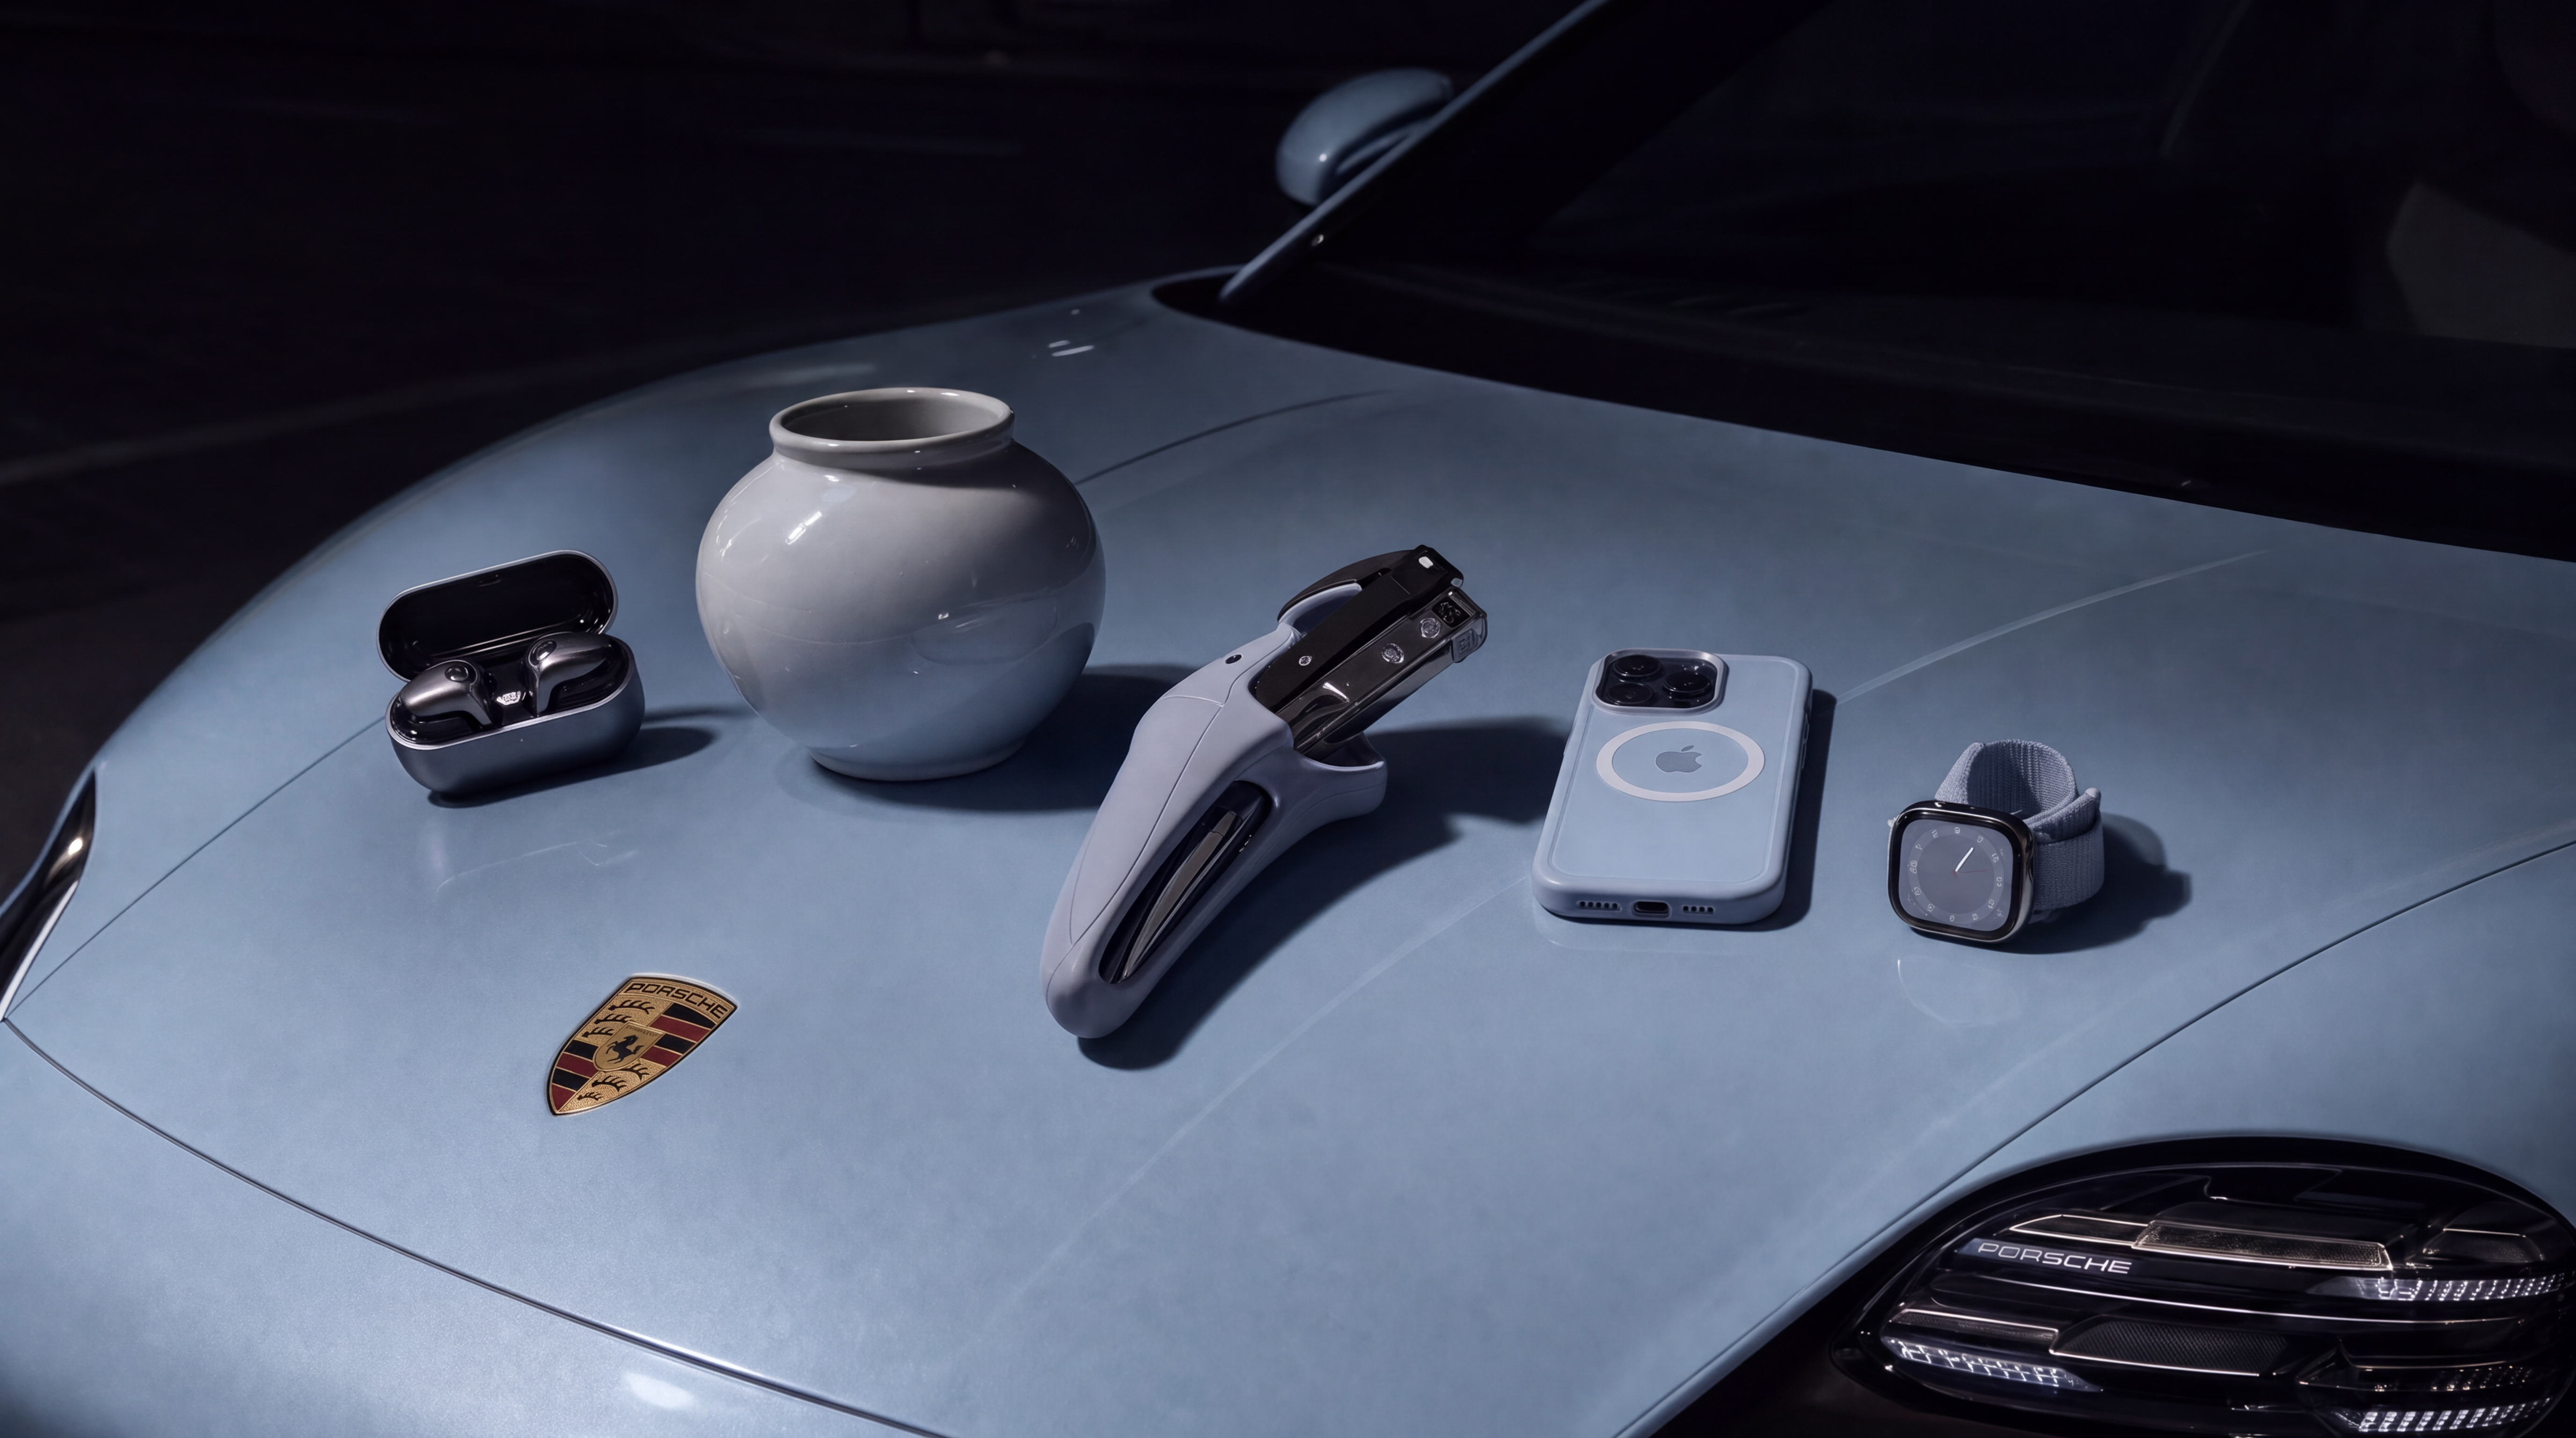 Raw reconstruction · J₁
Loading comparison…Image could not load. Open its PNG under Inspect files.
Loading comparison…Image could not load. Open its PNG under Inspect files.
Inspect files 100% view & native PNGs
The saved model output before color anchoring, surface filtering or camera grain. Reconstruction changes resolution and can redraw fine detail; it is not a deterministic filter.
Close-ups use 16:9 windows around matching detail locations, widened with surrounding source pixels and shifted inward at image edges. Reconstruction can move or redraw details; these views are not registered.
Raw reconstruction · J₁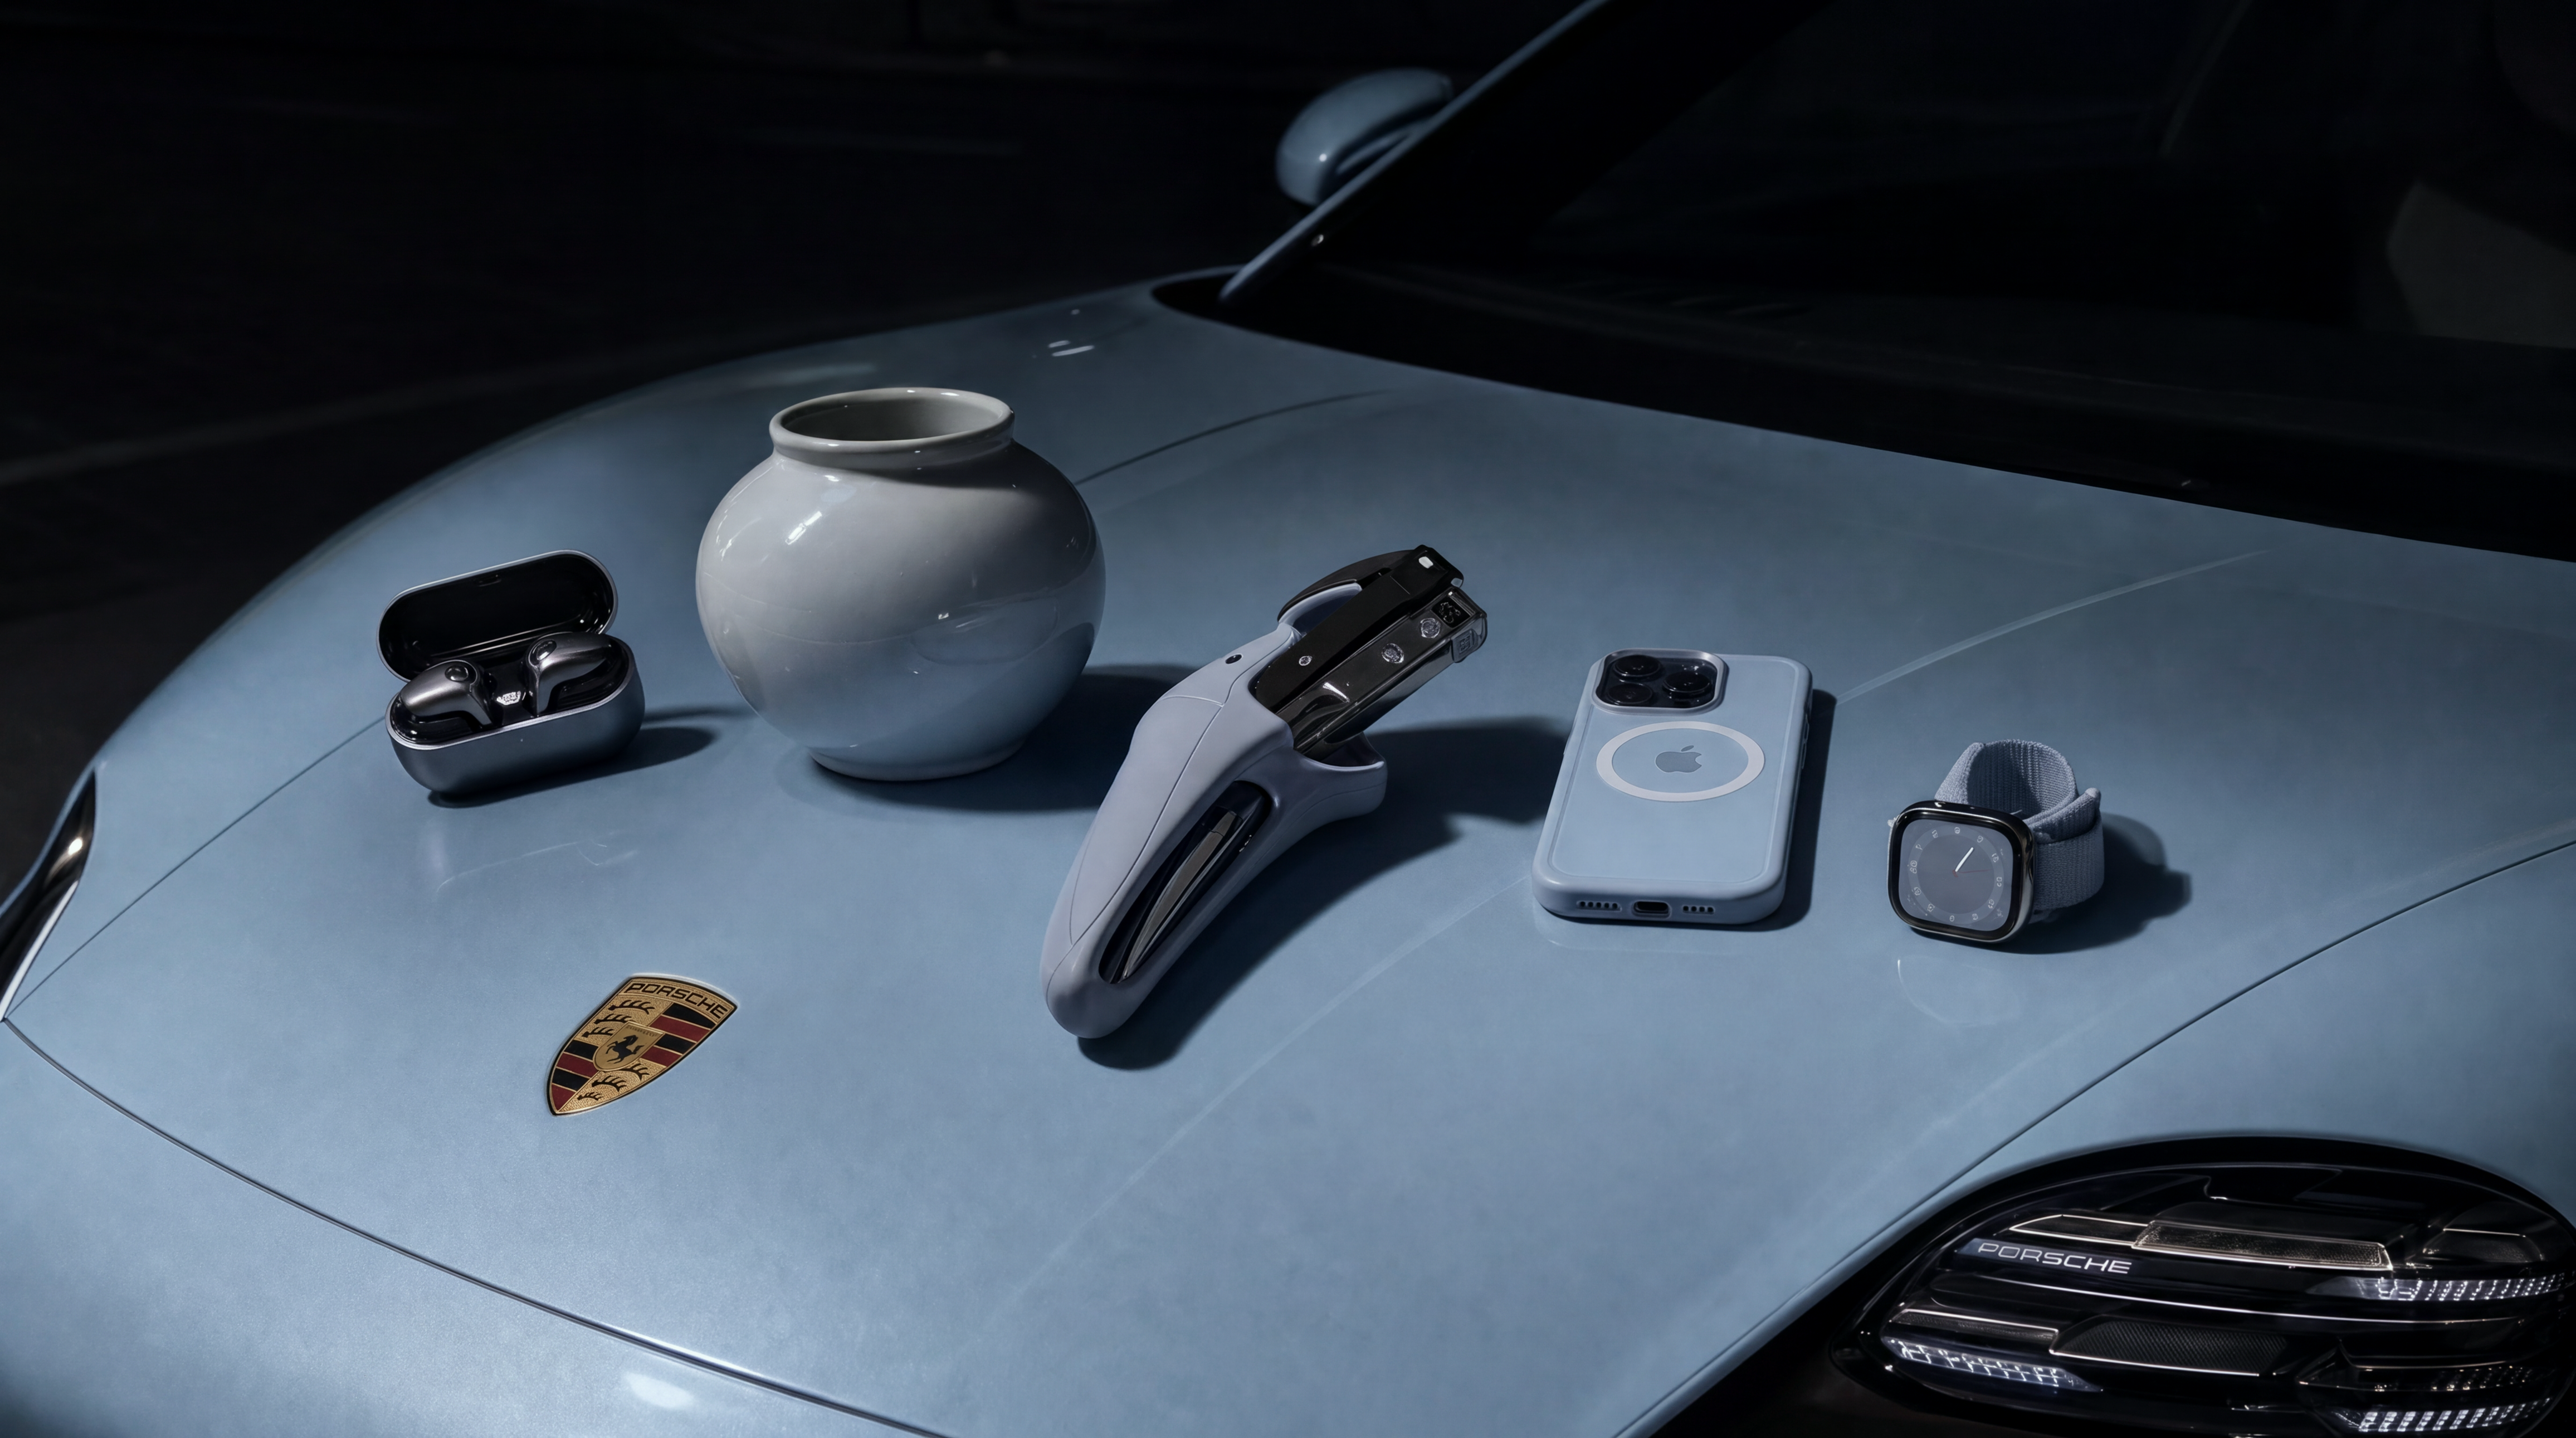 Color corrected · J₂
Loading comparison…Image could not load. Open its PNG under Inspect files.
Loading comparison…Image could not load. Open its PNG under Inspect files.
Inspect files 100% view & native PNGs
Exactly the same reconstruction before and after the global RGB map. The prototype replay reproduces the saved color-corrected file pixel for pixel. This example uses the fitted map without activating its displacement cap.
Close-ups use 16:9 windows around matching detail locations, widened with surrounding source pixels and shifted inward at image edges. Reconstruction can move or redraw details; these views are not registered.
Color corrected · J₂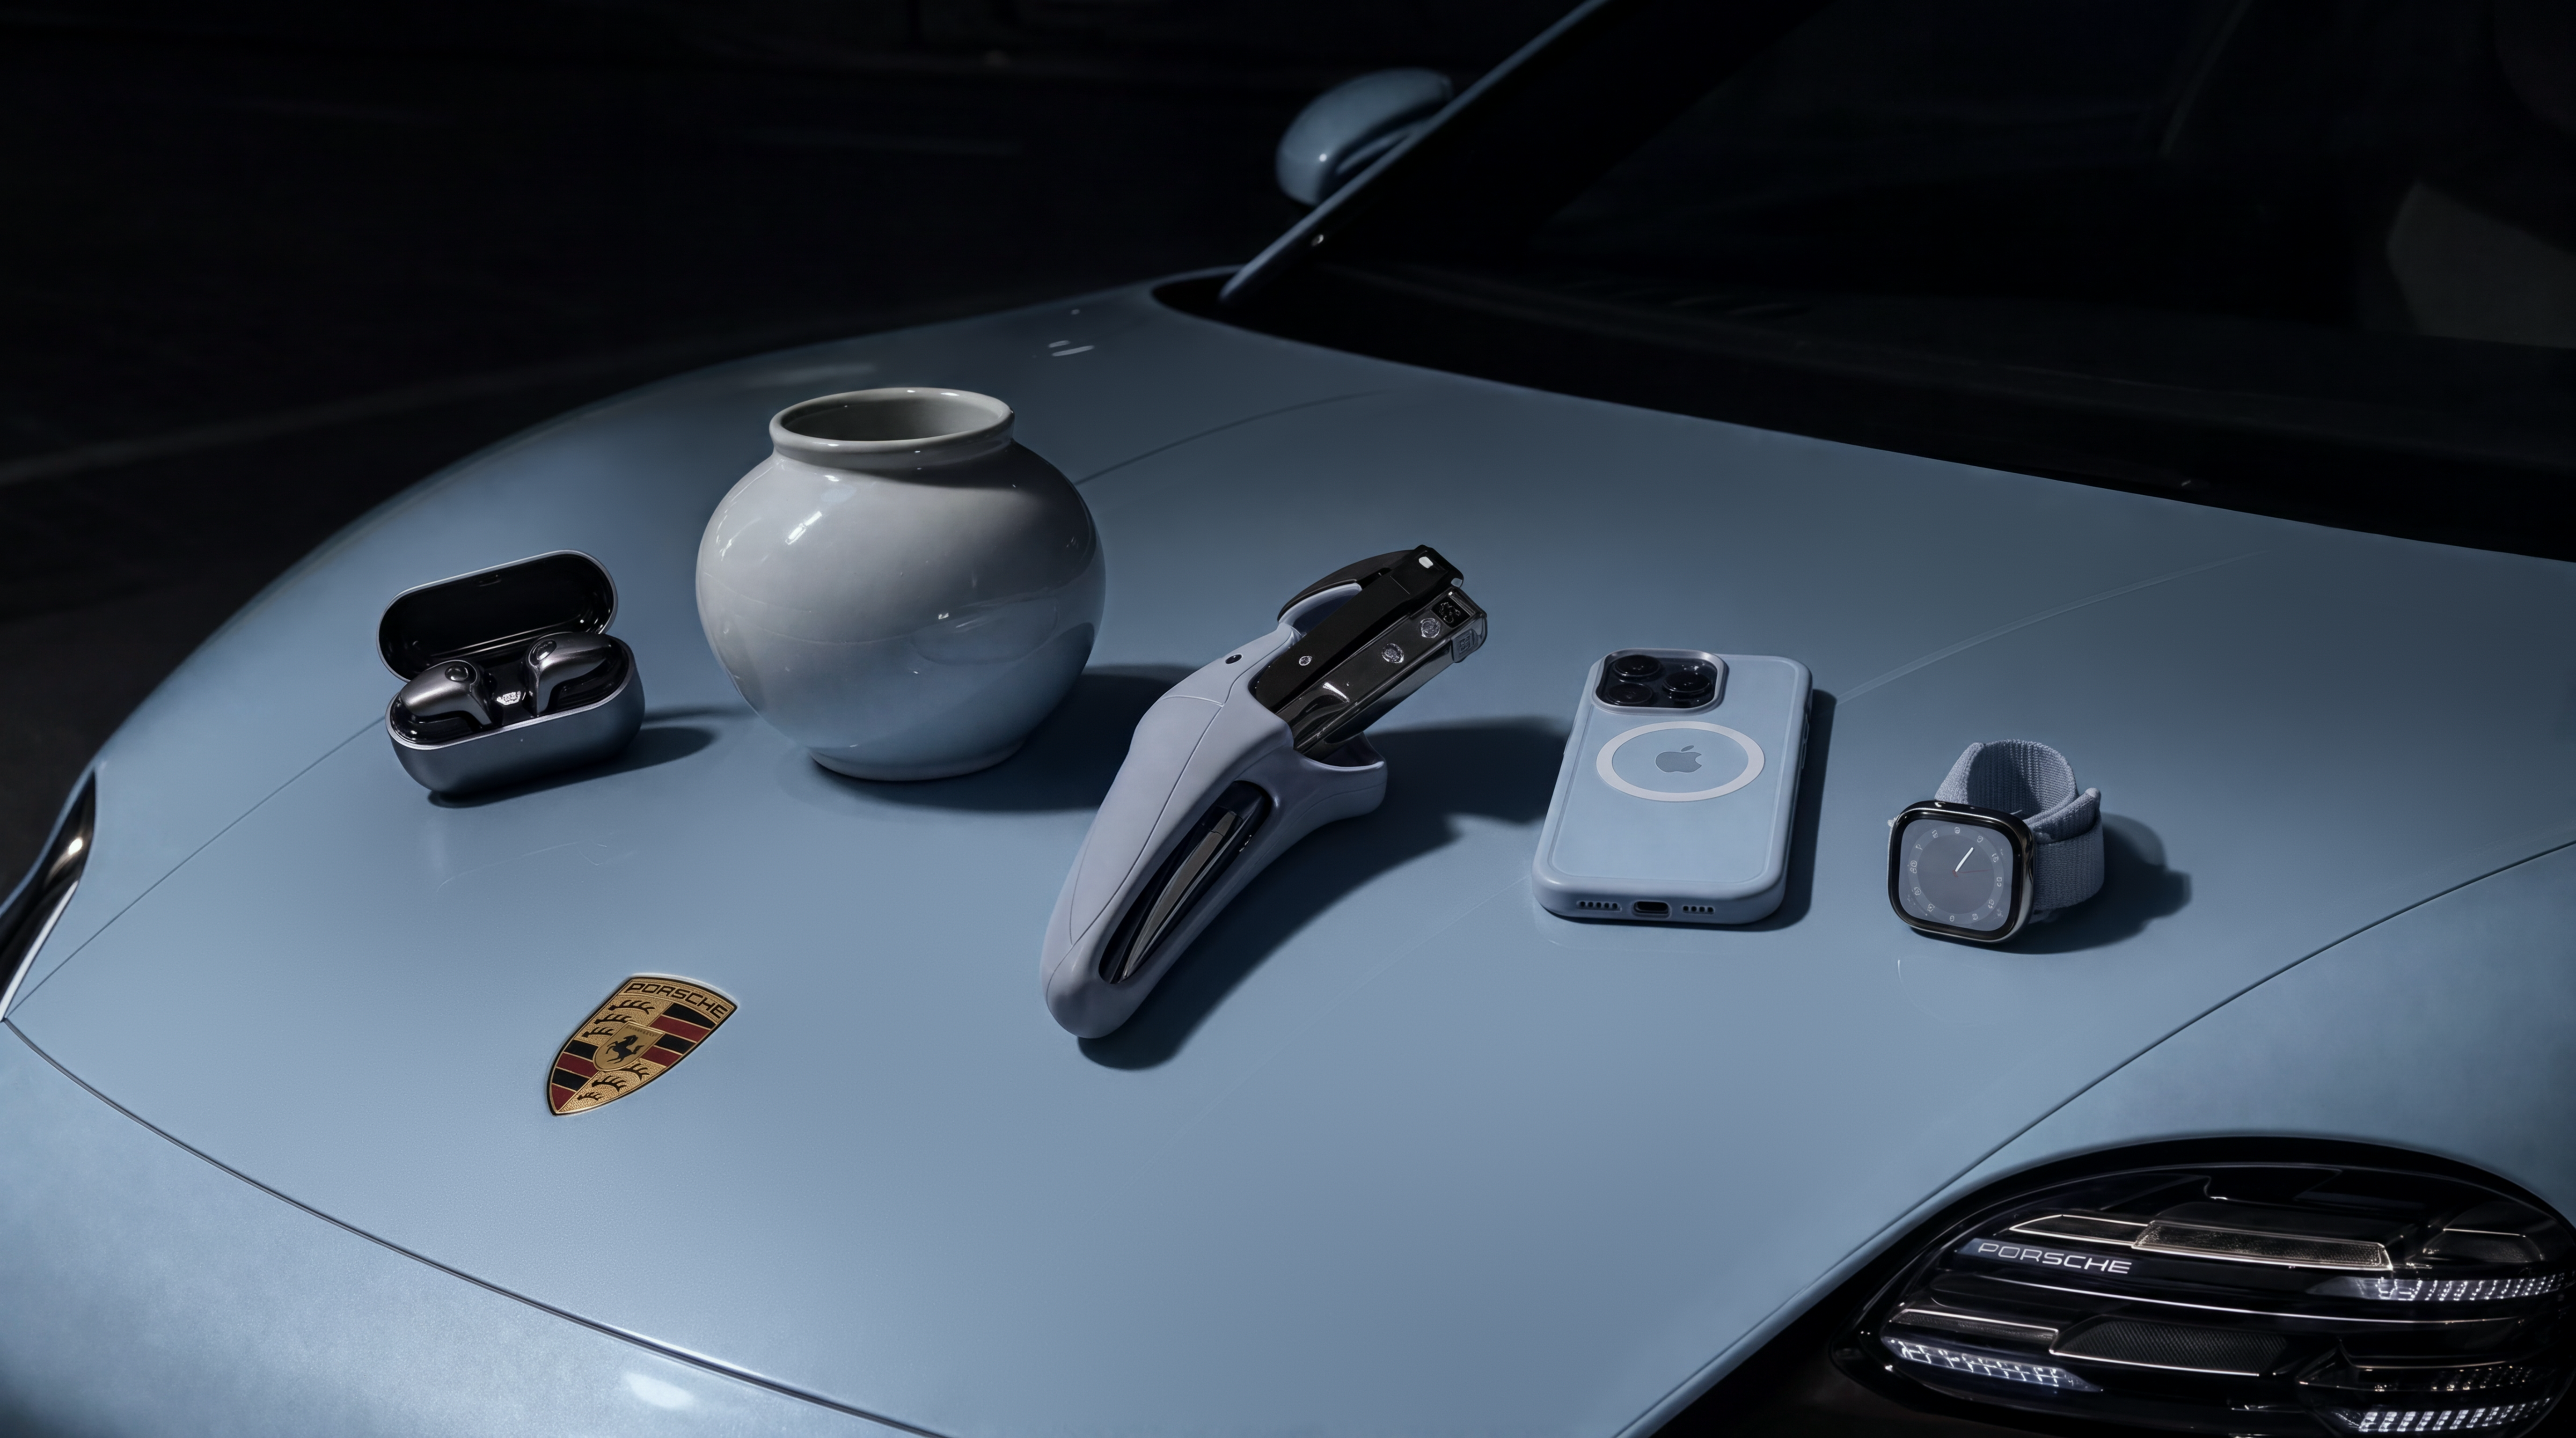 Surface filtered · J₃
Loading comparison…Image could not load. Open its PNG under Inspect files.
Loading comparison…Image could not load. Open its PNG under Inspect files.
Inspect files 100% view & native PNGs
Same saved base, before and after the masked surface filter. No redraw, color refit or grain between these two files. The local prototype reproduces the saved result pixel for pixel.
Close-ups use 16:9 windows around matching detail locations, widened with surrounding source pixels and shifted inward at image edges. Reconstruction can move or redraw details; these views are not registered.
Loading the mask…The mask could not load. Use its PNG link.
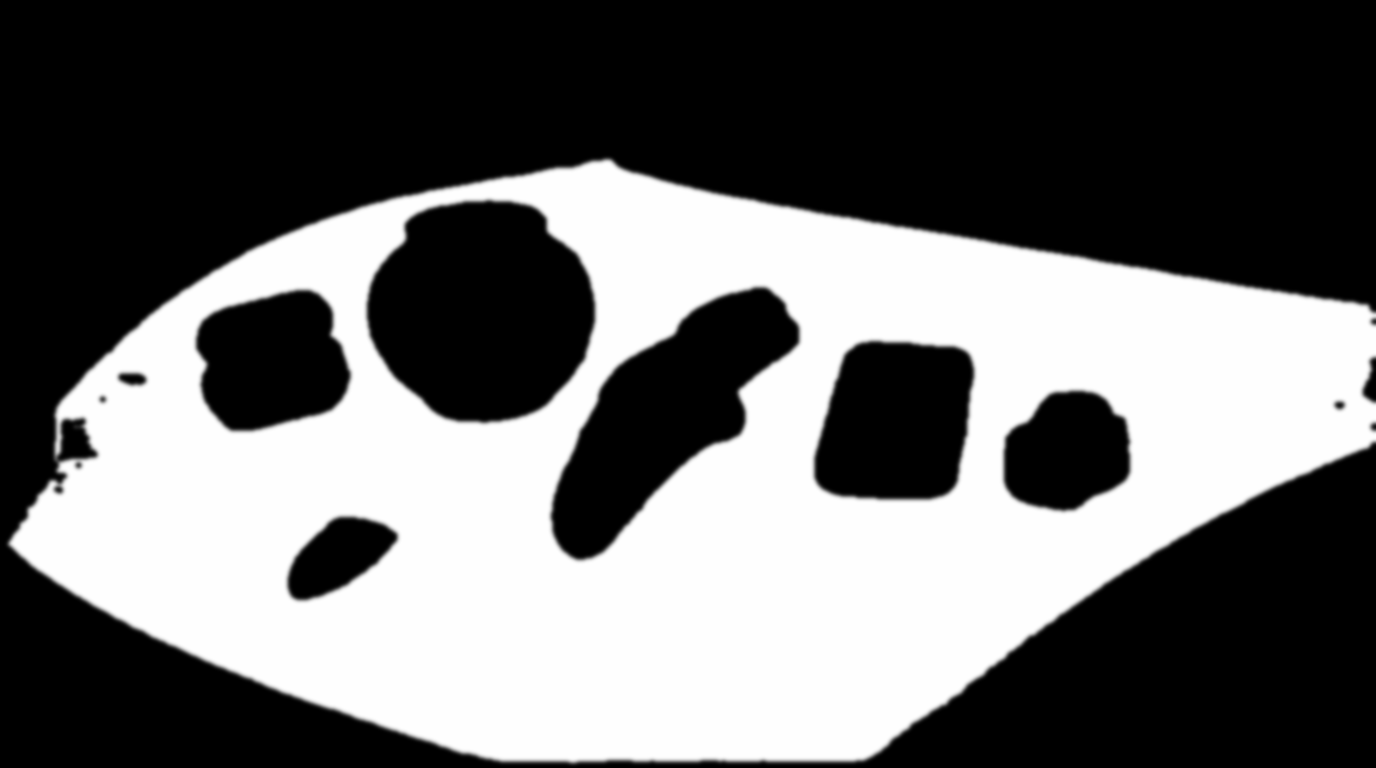
Black: no surface correction. White: full correction. Gray: a feathered blend. Lilac is an explanatory overlay. Download mask ↗
After surface filtering · J₃Final photographic finish · J₄Loading comparison…Image could not load. Open its PNG under Inspect files.
Loading comparison…Image could not load. Open its PNG under Inspect files.
Inspect files 100% view & native PNGs
The saved surface-filtered image with and without the final camera-style grain. The prototype replay reproduces the finished file pixel for pixel. No additional reconstruction or surface filtering occurs between these files.
Close-ups use 16:9 windows around matching detail locations, widened with surrounding source pixels and shifted inward at image edges. Reconstruction can move or redraw details; these views are not registered.
One image, four steps. Switch tabs to see what reconstruction, color correction, surface treatment and the final grain each contribute. Surface includes the saved mask.
Finish with controlled fine grain
We add a little camera-style grain to photographs and products, giving them a fine texture after cleanup. Renders and illustrations skip this step.
This grain has no repeating two-pixel cell. It weakens toward highlights and has less color variation than brightness variation. The Finish tab shows the subtle change across the whole frame.
04 / Limits
A cleaner bag can still be the wrong bag
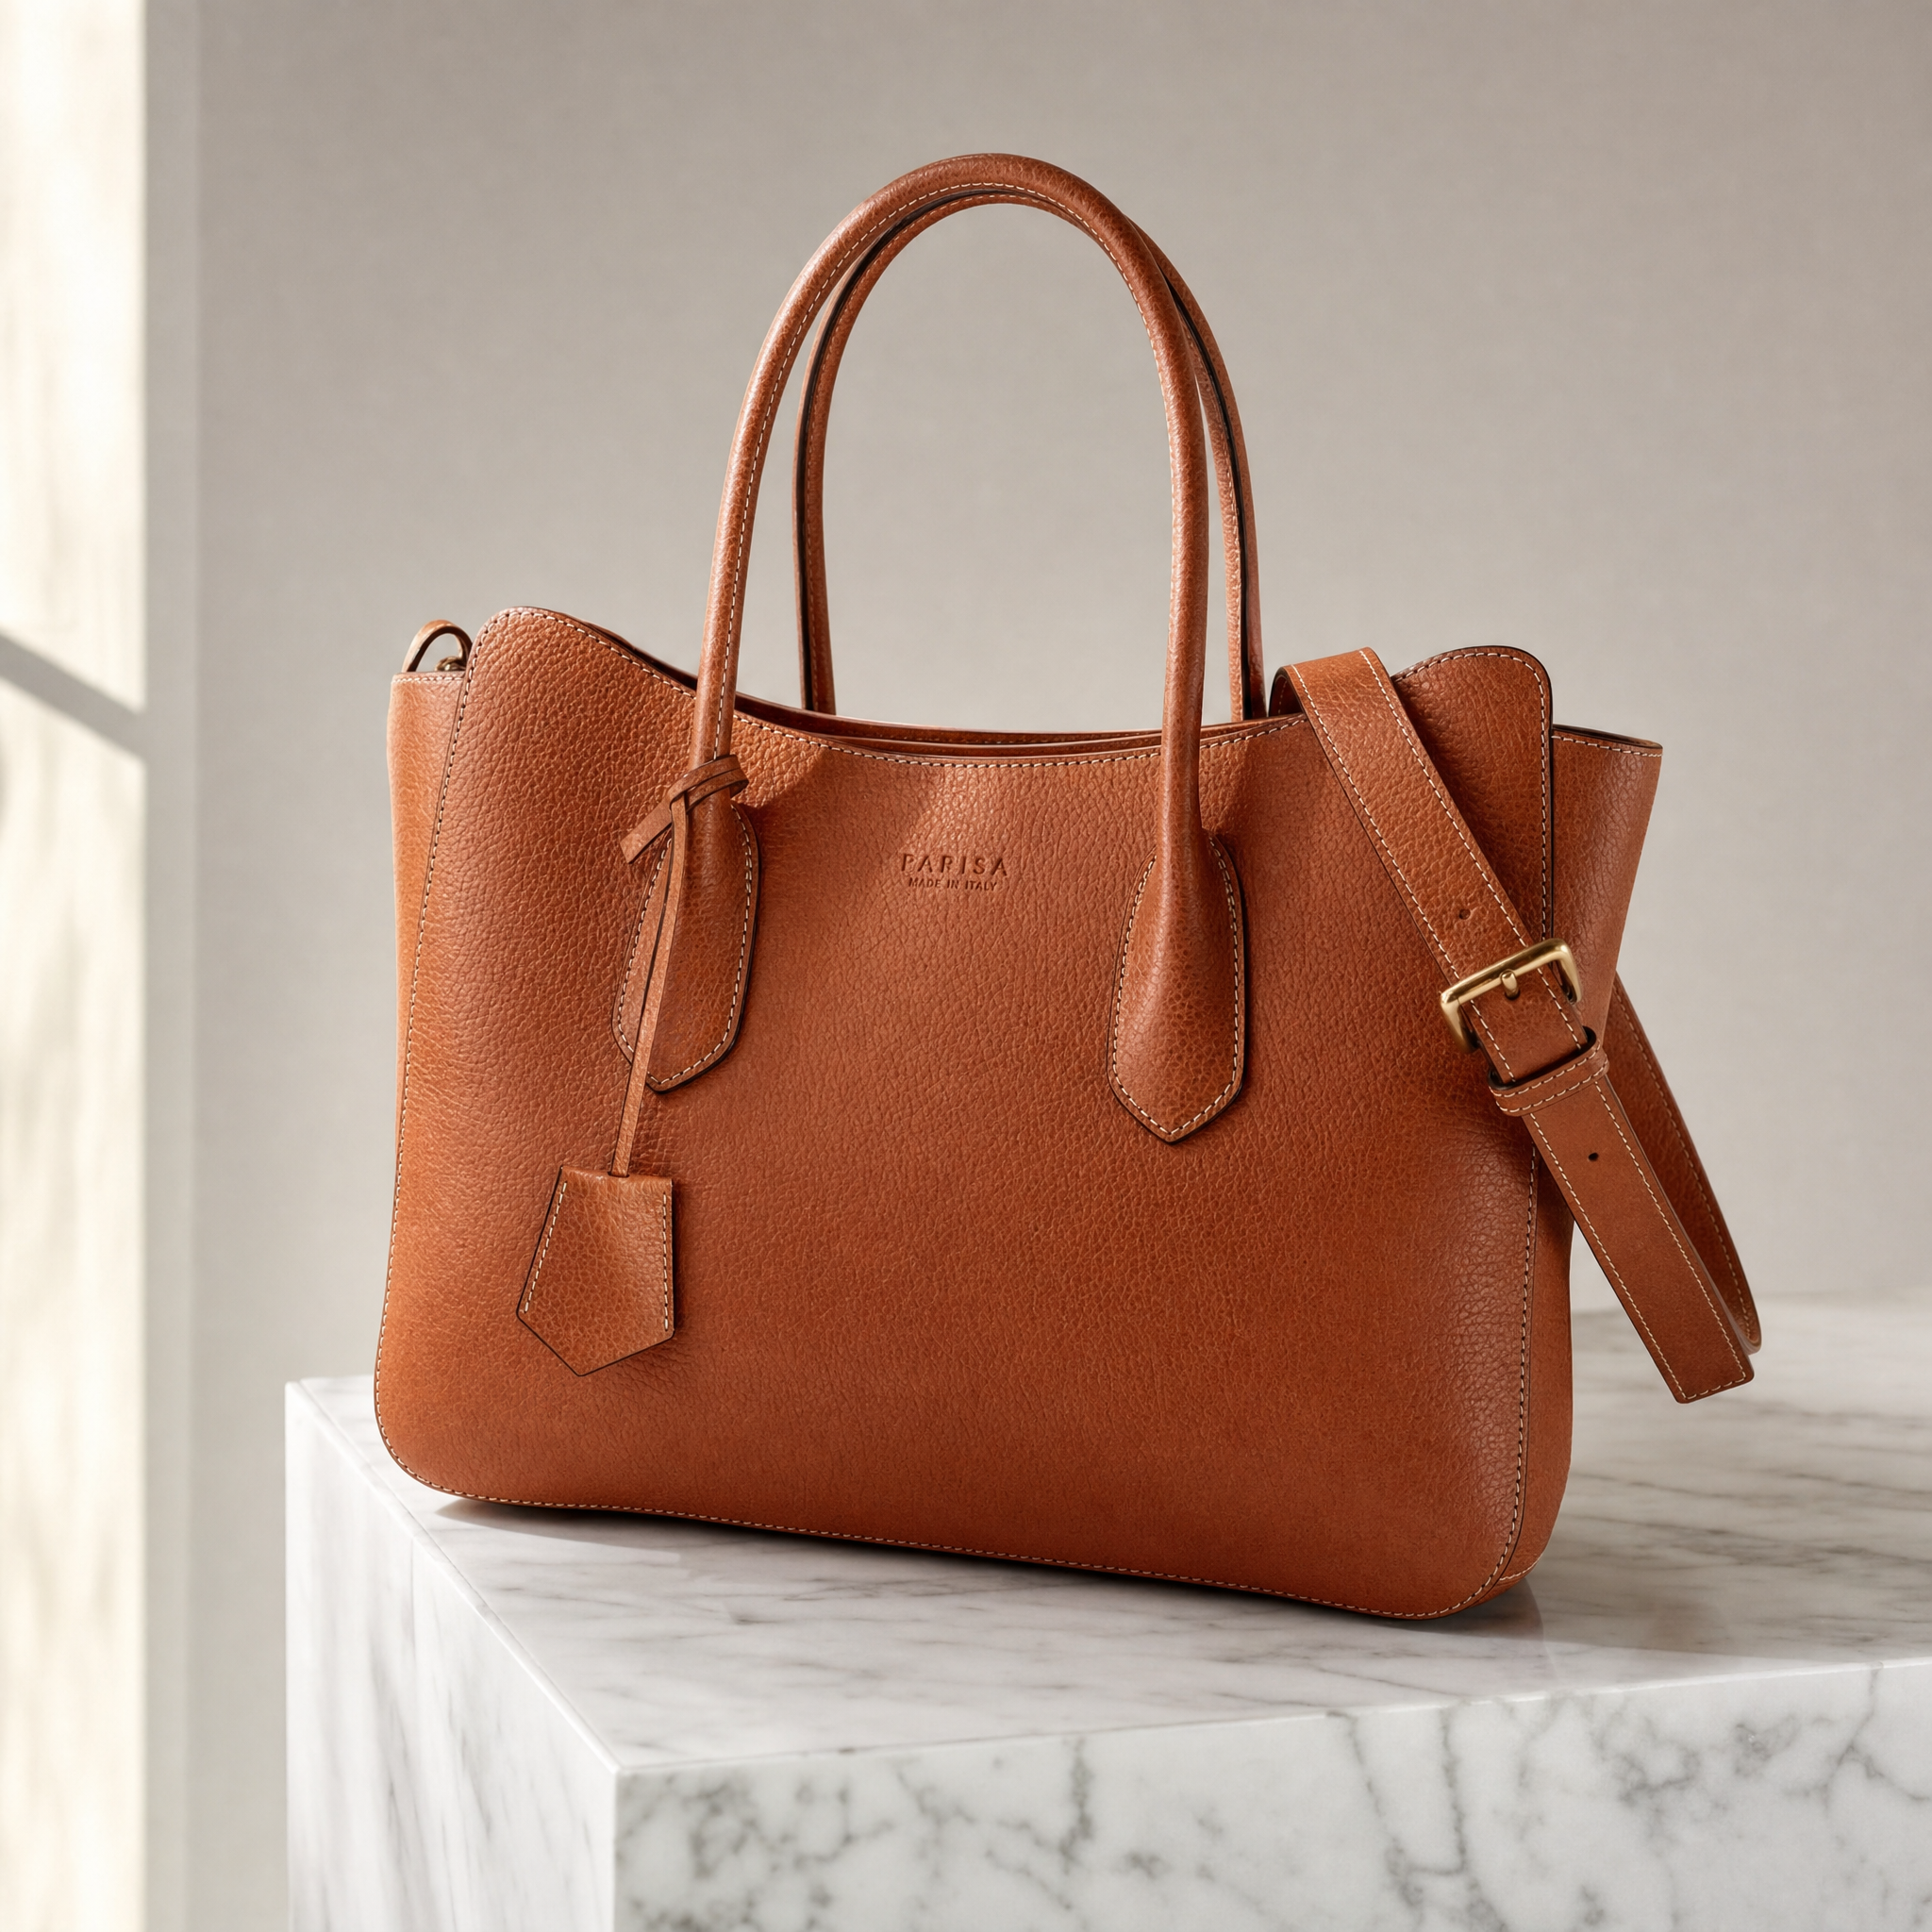
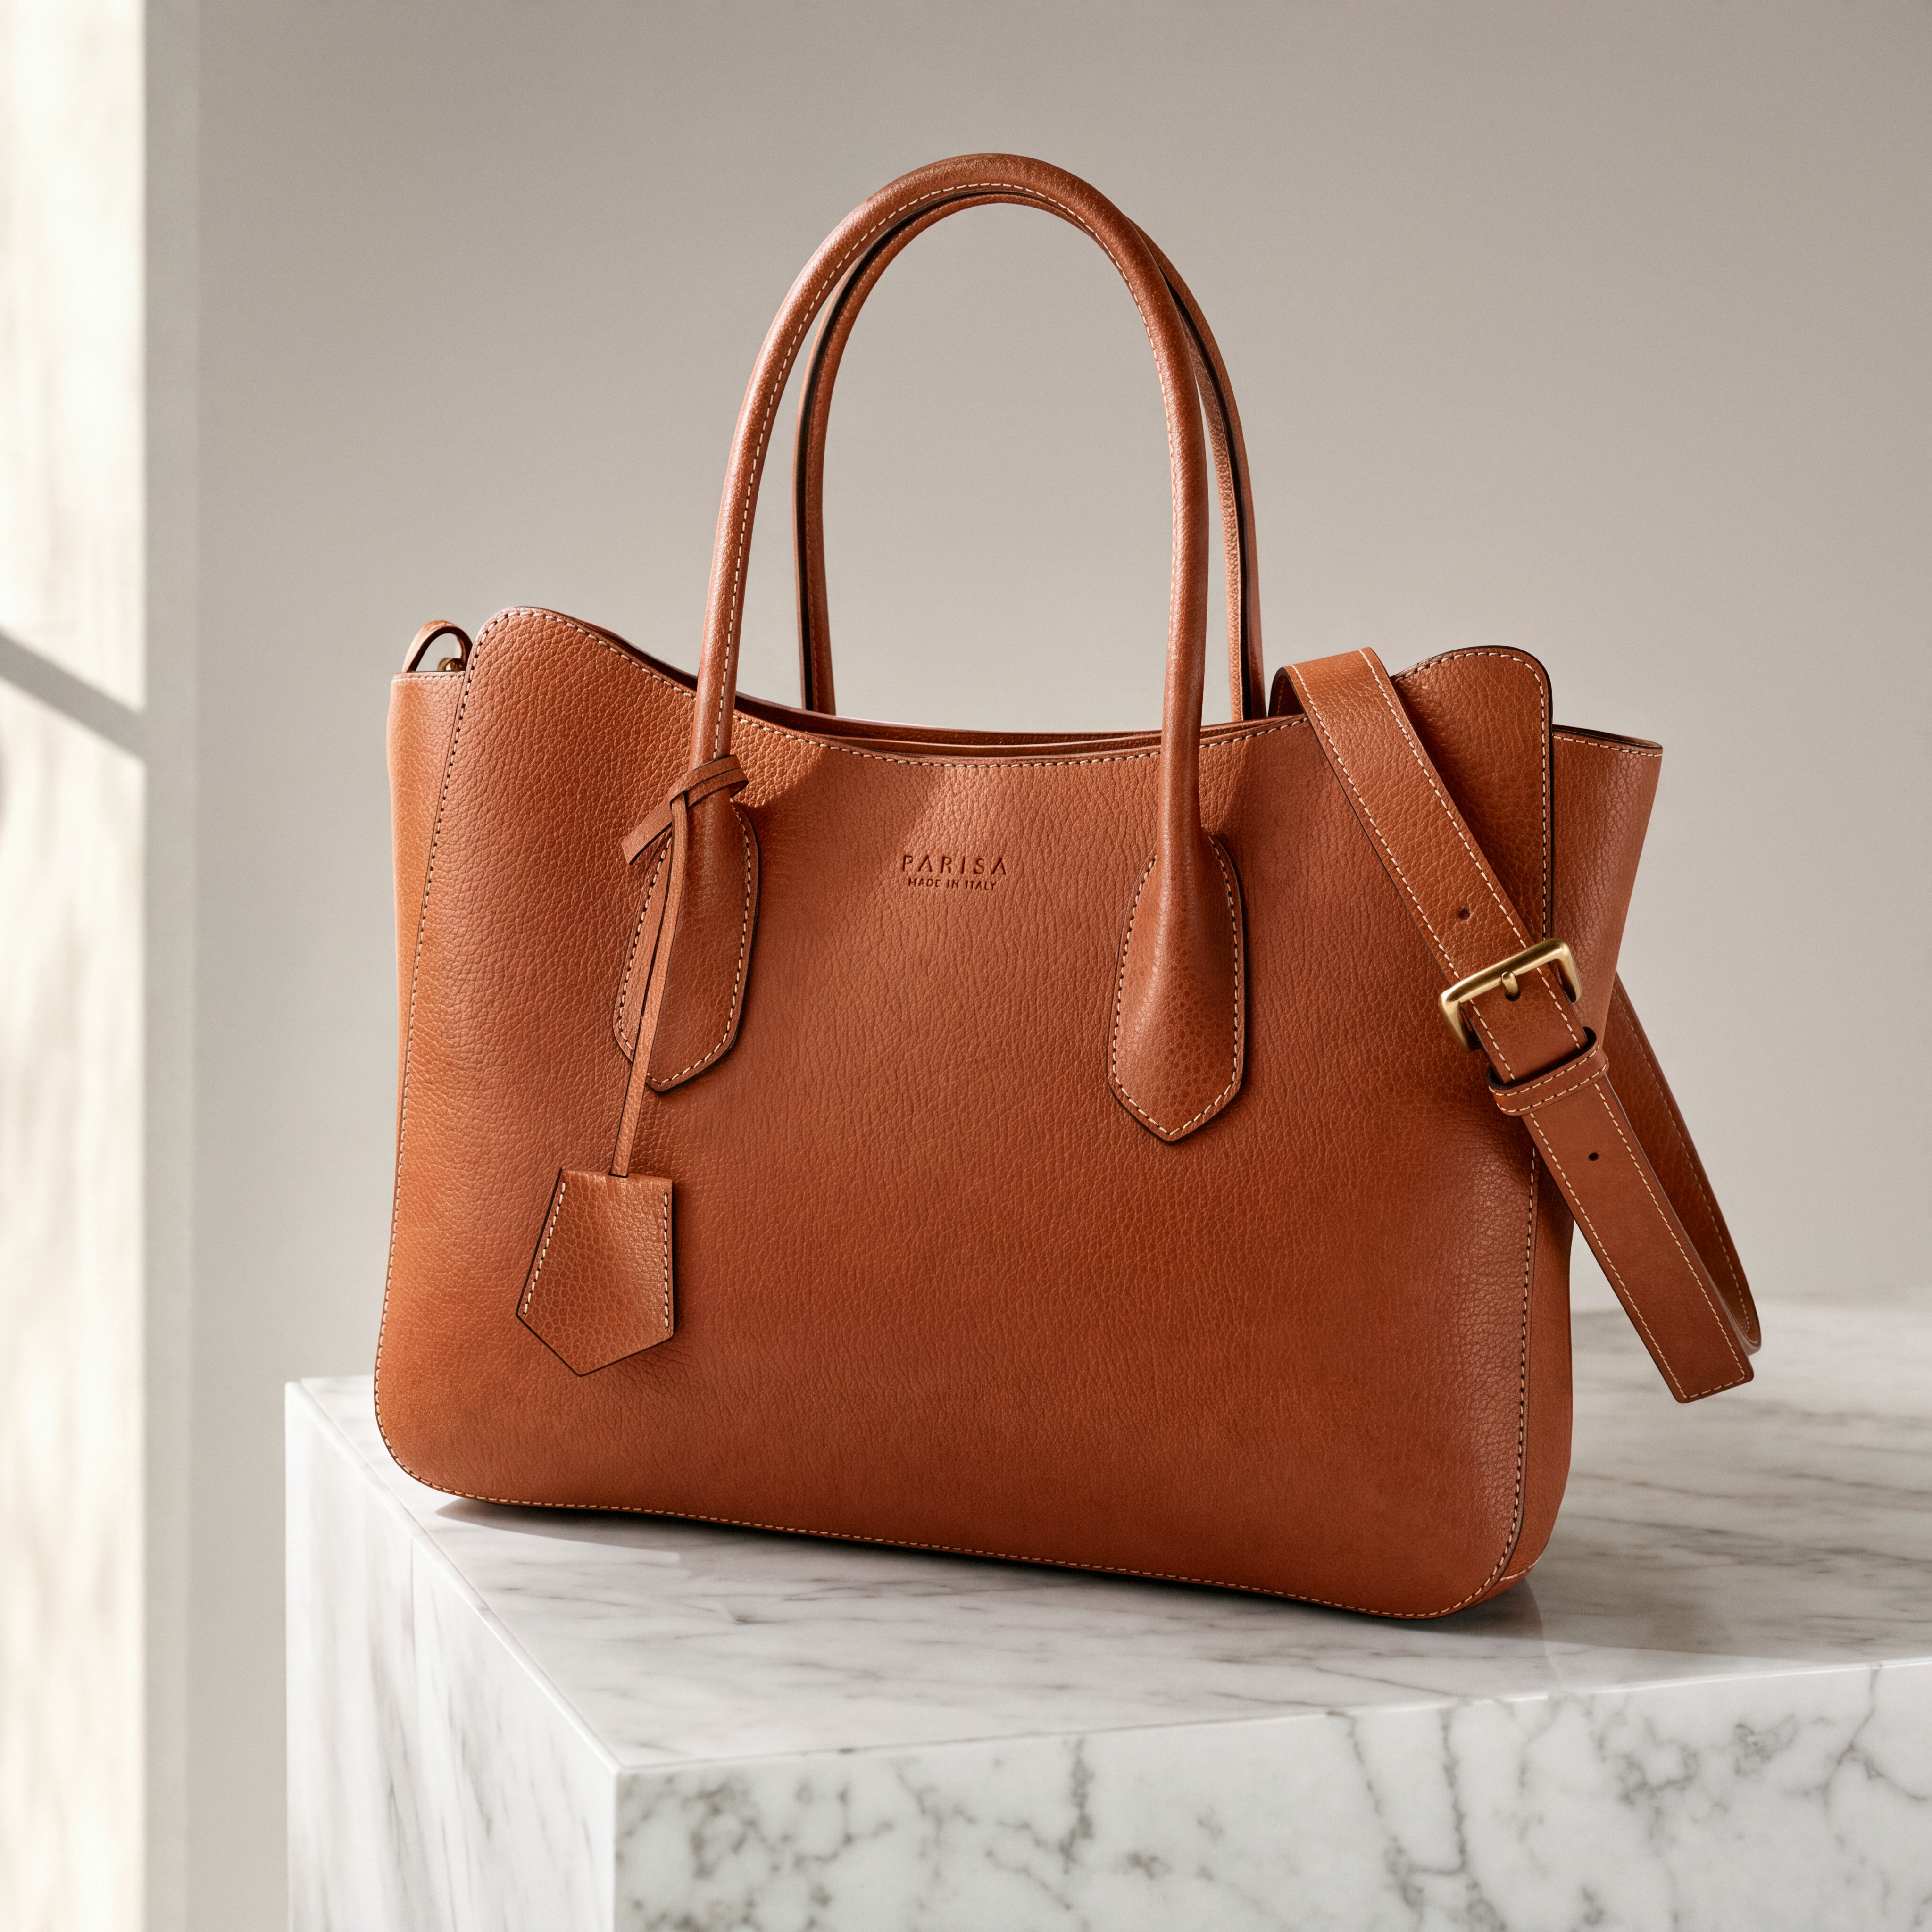
The general photographic treatment thinned the bag’s strap and coarsened its leather. Product constraints improved those features in two subsequent runs. Compare the two treatments below: they share an input but are separate reconstructions.
Small lettering remains difficult. One apparently preserved “MADE IN ITALY” read “MADT IN ITALY.” The general treatment garbled the line in three tests; the product treatment preserved it in two. Four text-repair approaches introduced softer patches, coarser leather or new letter errors, so automatic text repair was excluded.
Original supplied image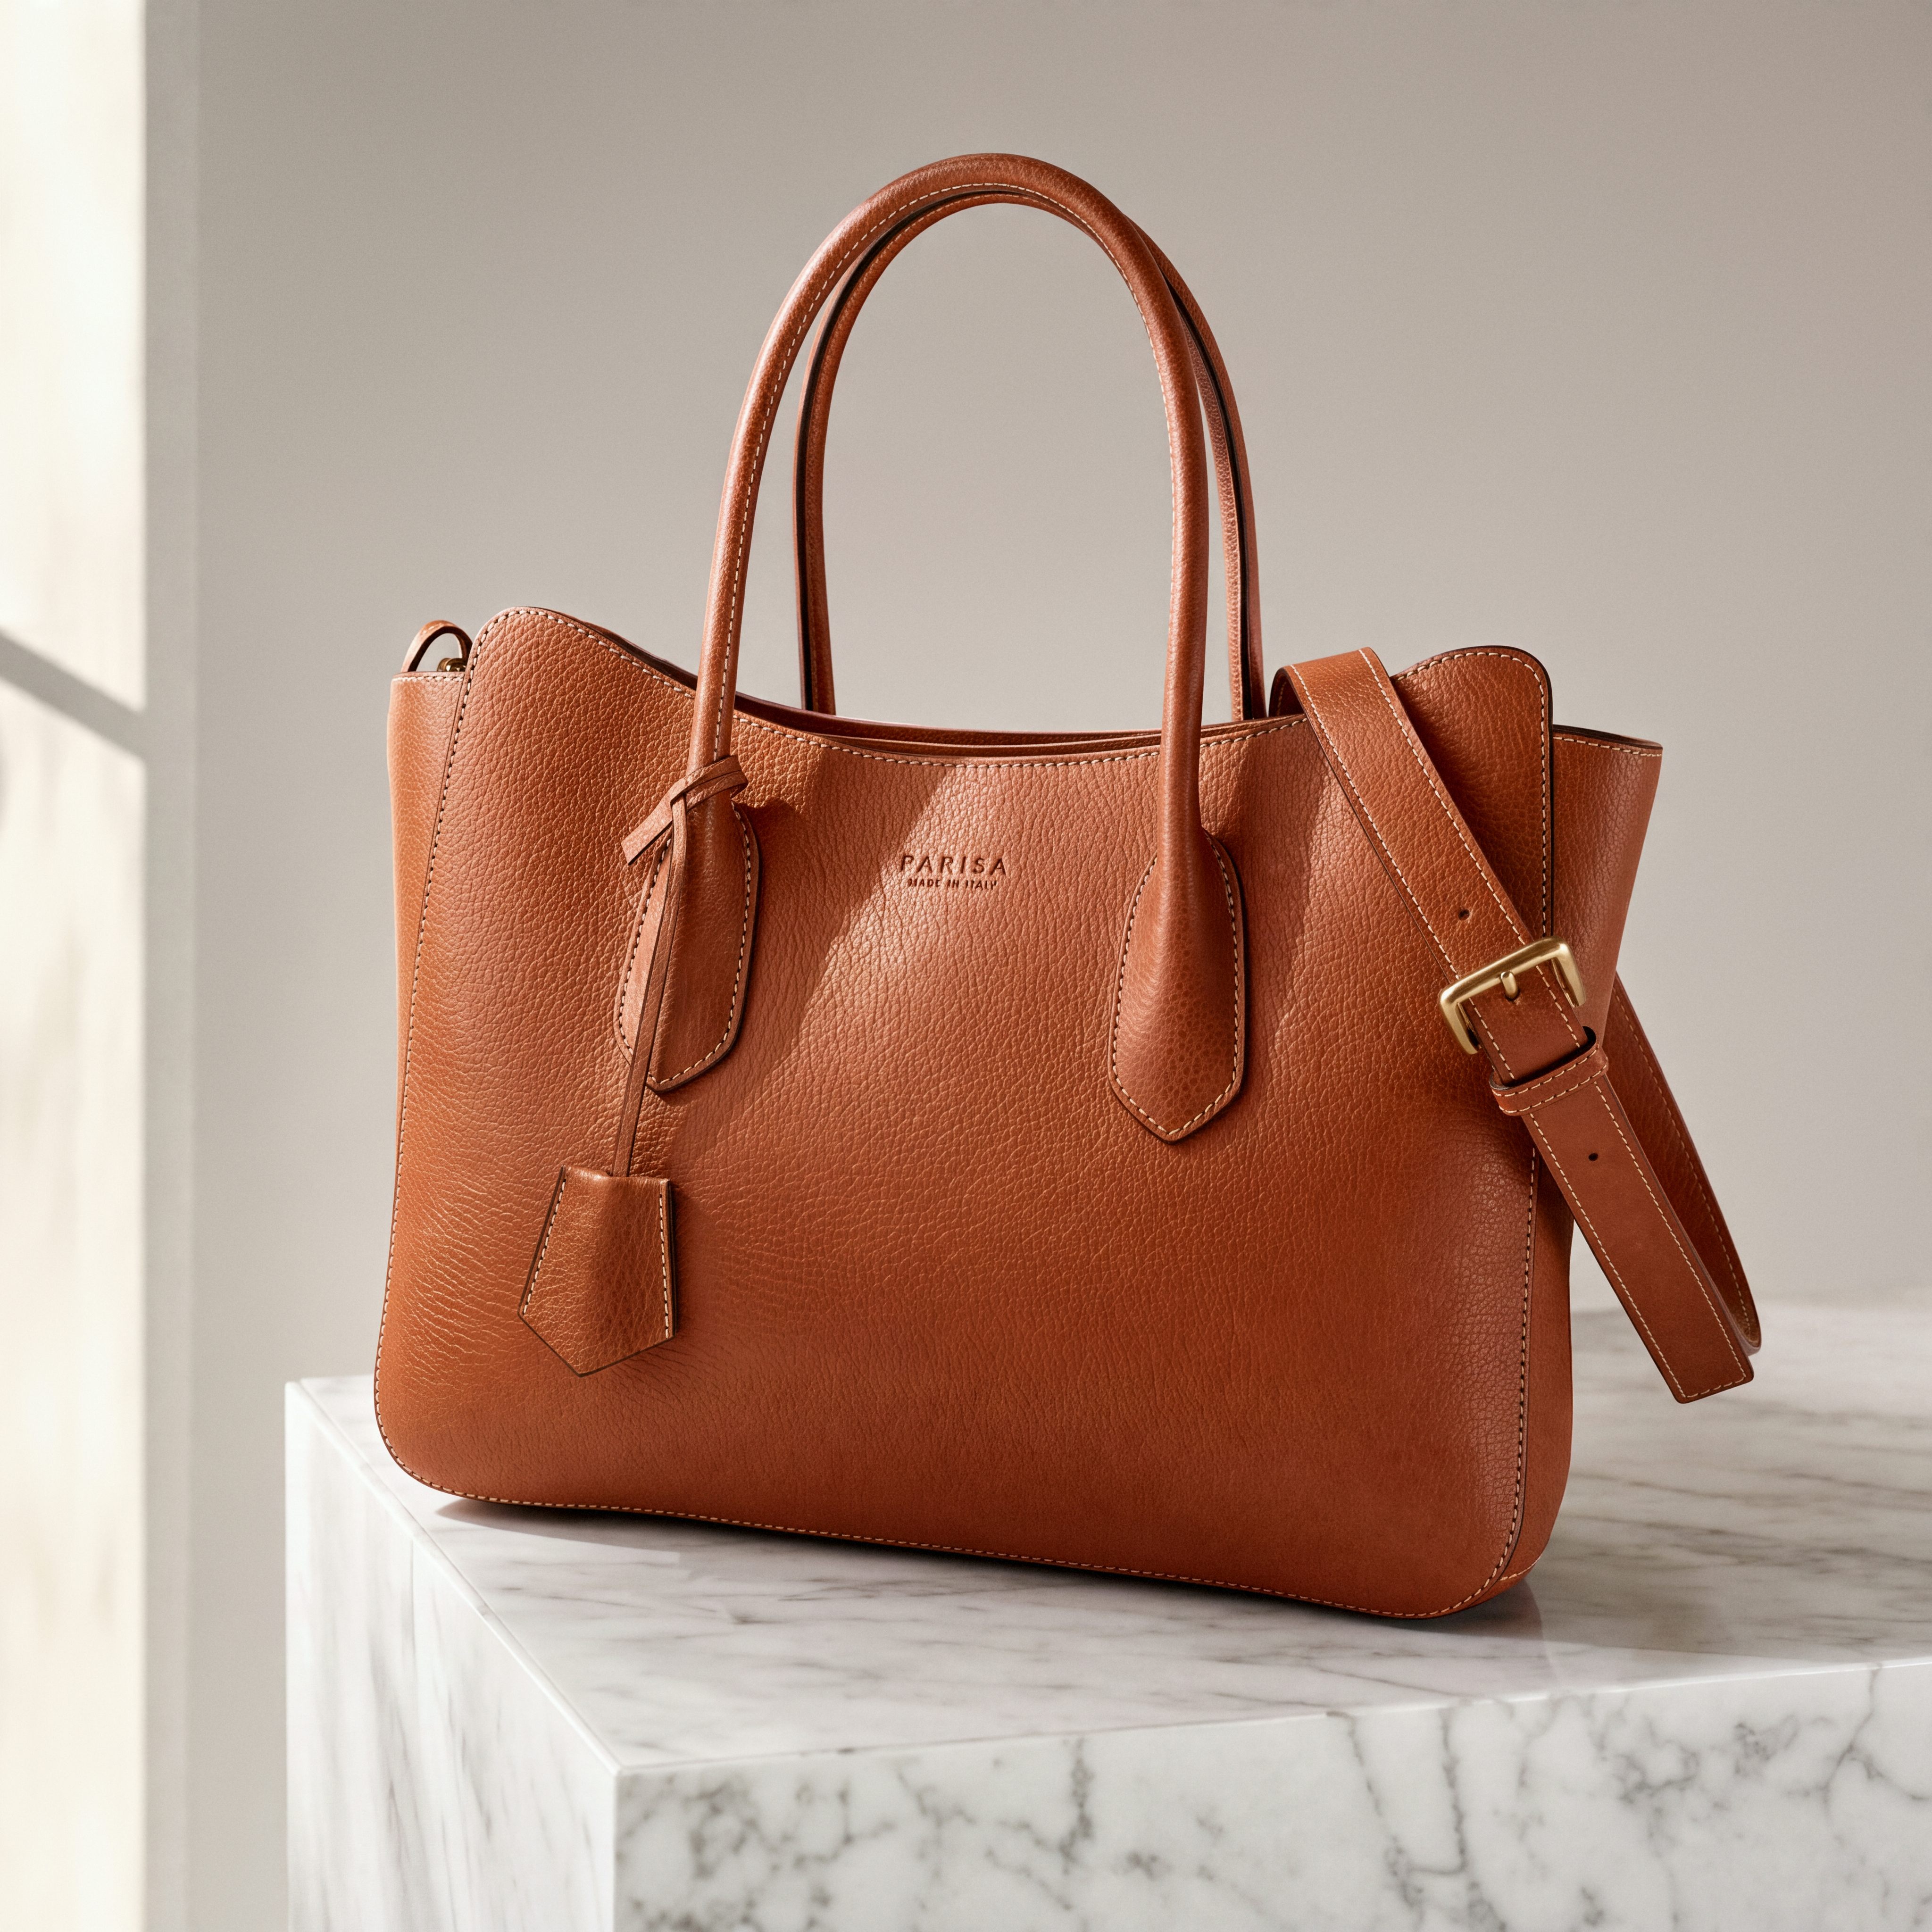 Rejected general treatment
Loading comparison…Image could not load. Open its PNG under Inspect files.
Loading comparison…Image could not load. Open its PNG under Inspect files.
Inspect files 100% view & native PNGs
The general photographic treatment changed the strap and leather grain and failed to preserve the small lettering. The selected product-specific repeat is a separate case. This comparison changes the main render as well as its finishing stages.
Close-ups use 16:9 windows around matching detail locations, widened with surrounding source pixels and shifted inward at image edges. Reconstruction can move or redraw details; these views are not registered.
Original supplied imageComplete prototype resultLoading comparison…Image could not load. Open its PNG under Inspect files.
Loading comparison…Image could not load. Open its PNG under Inspect files.
Inspect files 100% view & native PNGs
Complete saved prototype result, including its finishing stages; this is not a surface-only comparison. Selected product-specific repeat, run 2 of 2. Two successful repeats do not establish reliable text preservation.
Close-ups use 16:9 windows around matching detail locations, widened with surrounding source pixels and shifted inward at image edges. Reconstruction can move or redraw details; these views are not registered.
The same bag under two reconstruction treatments. Inspect the strap, leather and lettering.
One more pass for small objects
Cleanup can repair small objects too. With Fix small details enabled, a vision-capable LLM examines the cleaned image in the background and identifies distorted details worth another attempt.
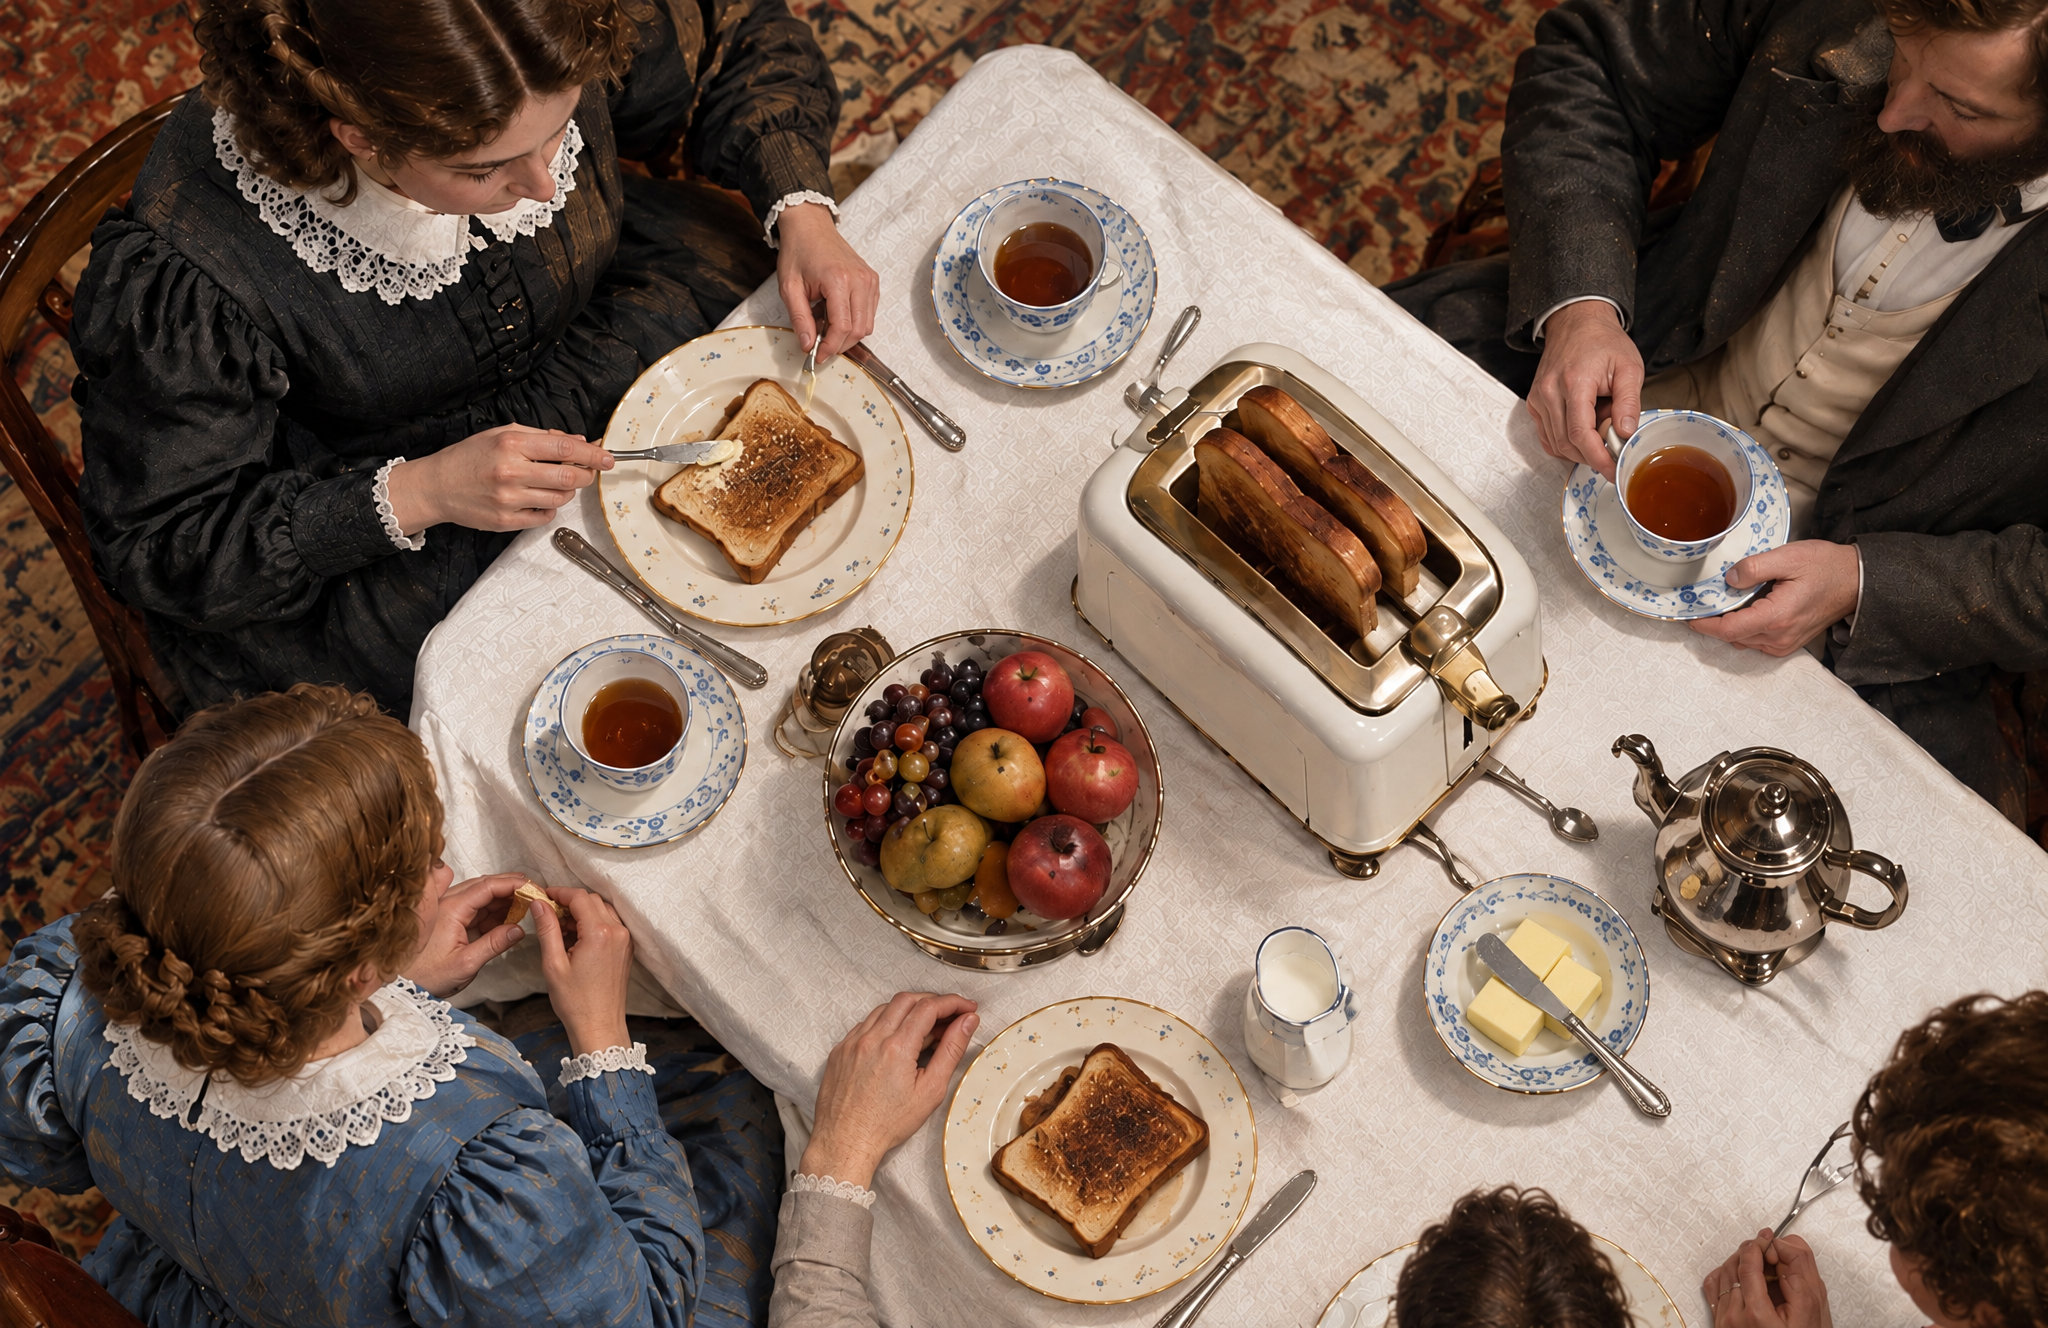
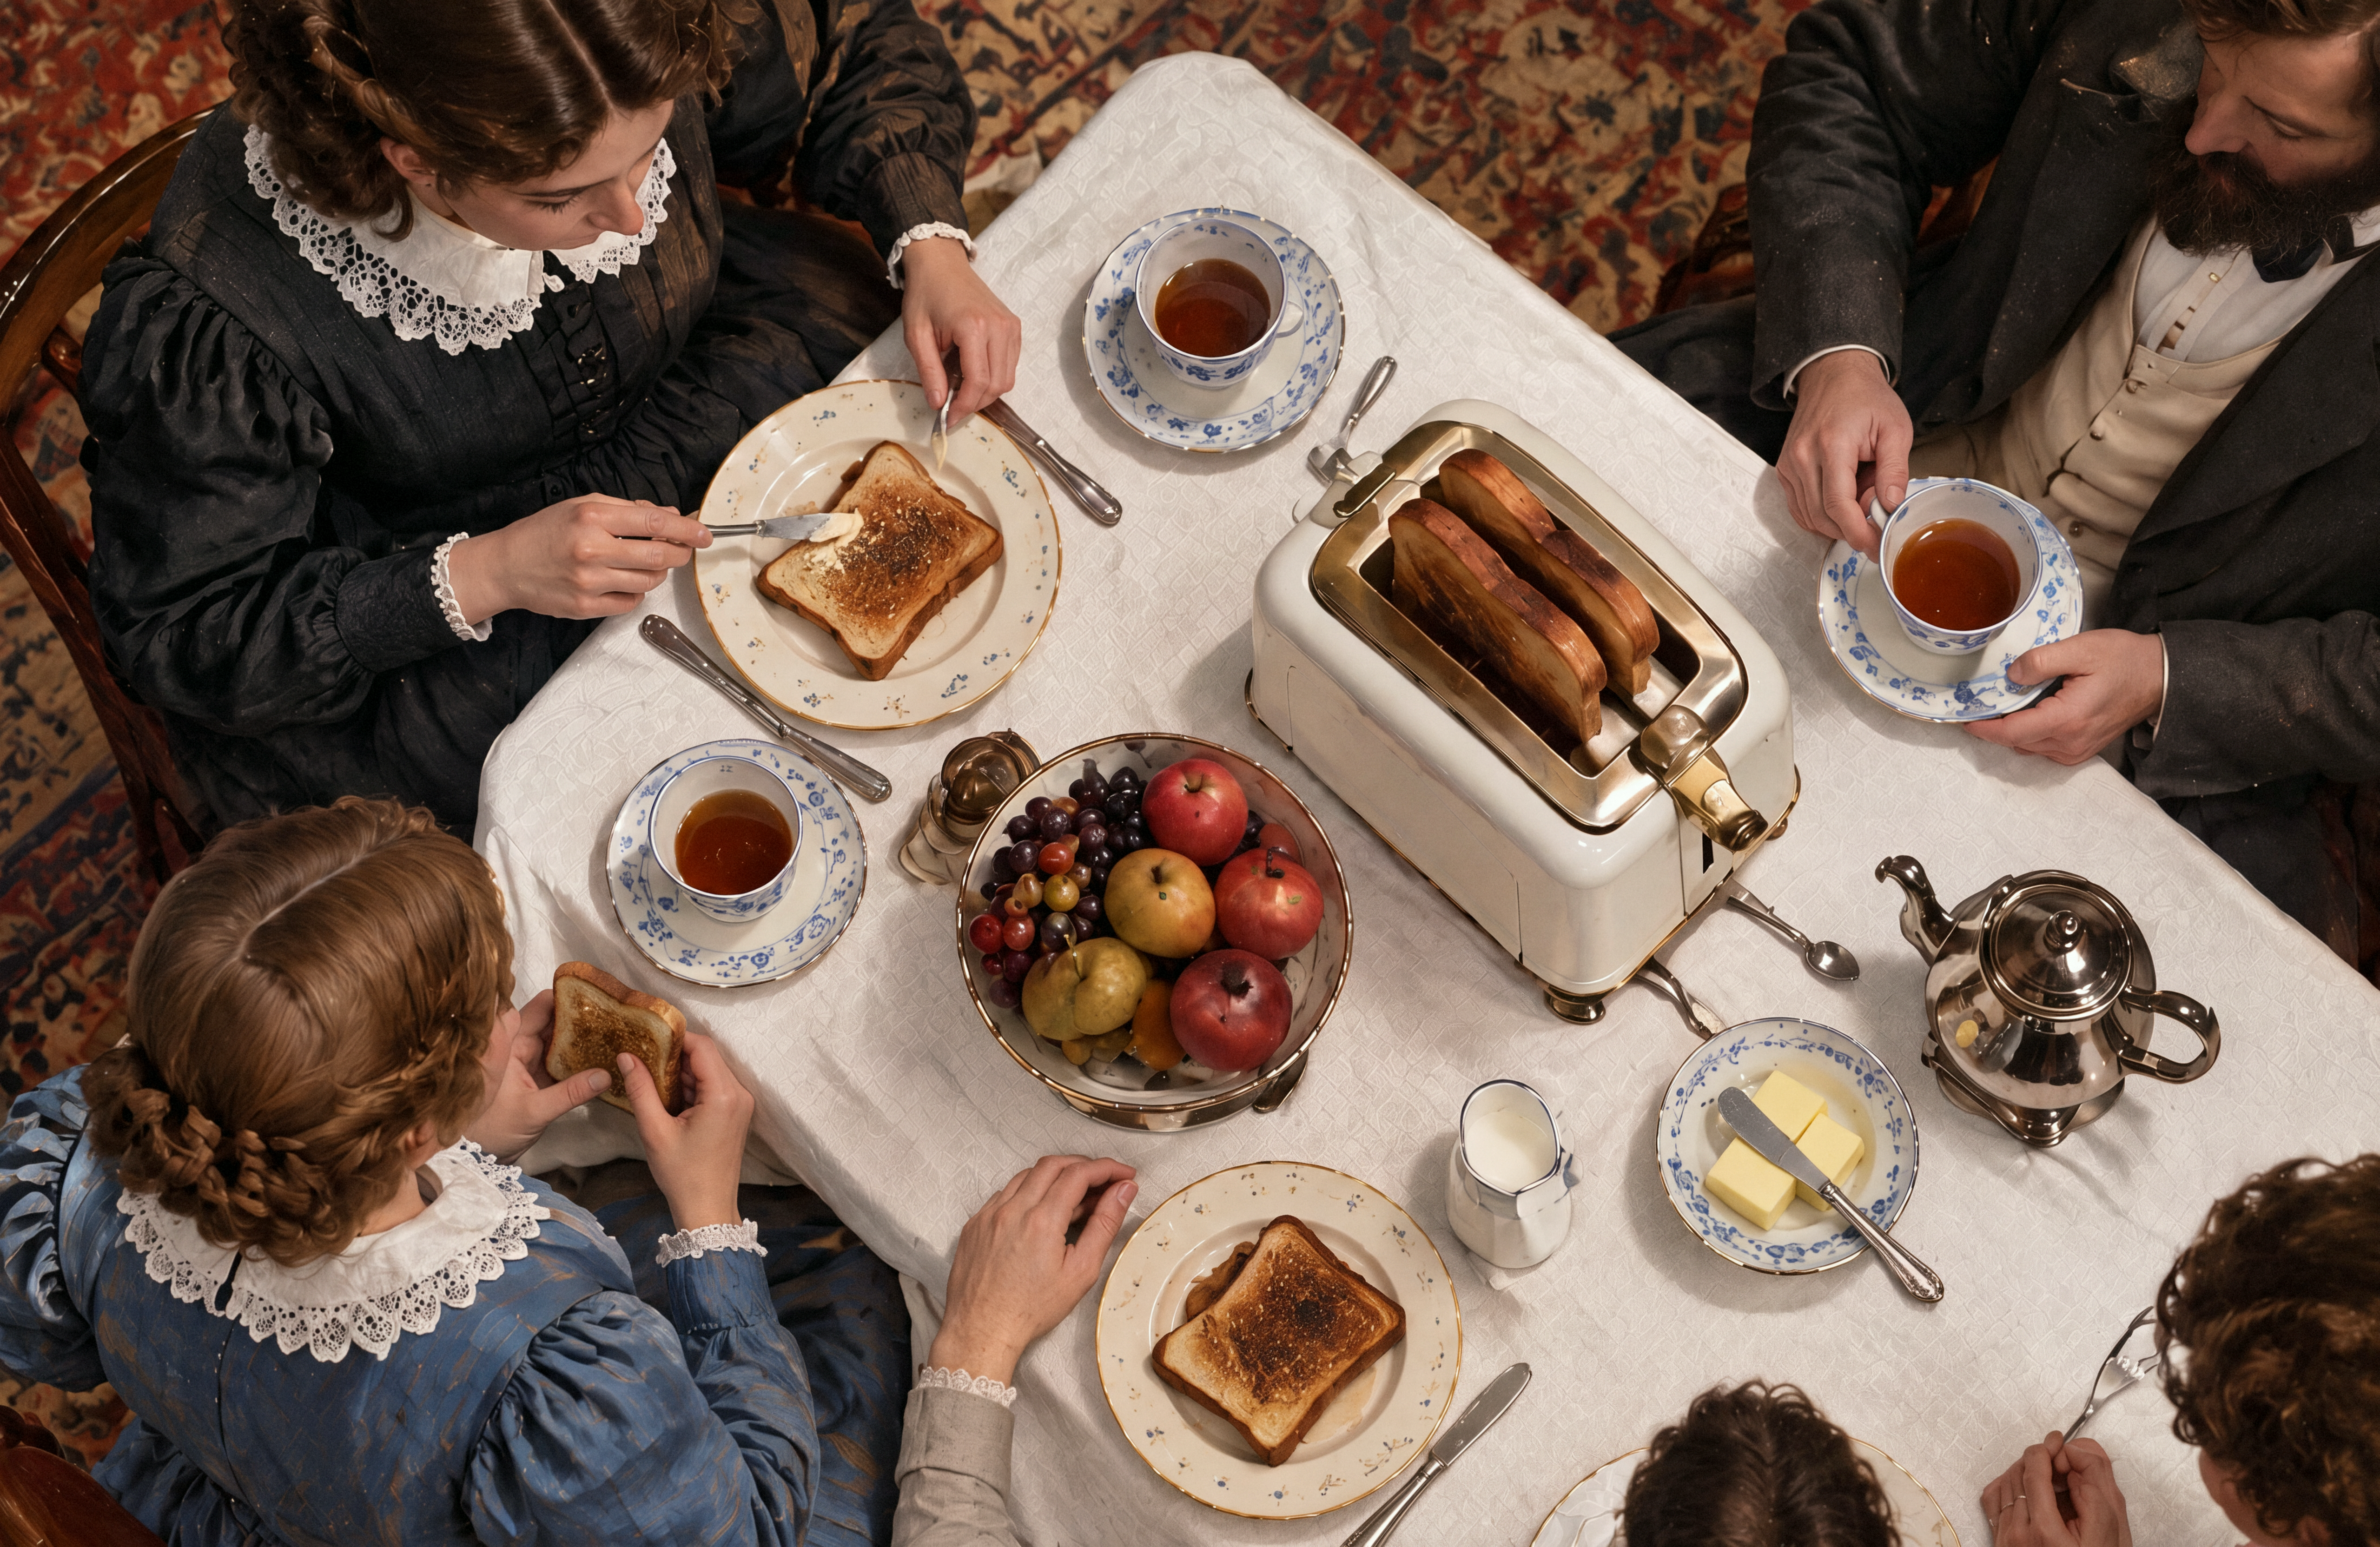
Each selected area gets its own repair, which we align, color-match and blend back into the picture. Look at the toaster control and the fork below: the change is in their shape as well as their texture.
The LLM chooses where to try. A separate image-matching check decides which repairs fit the image closely enough to keep. The two views show the proposed repairs and those retained by that check. This optional step is off by default.
Cleanup before object repairs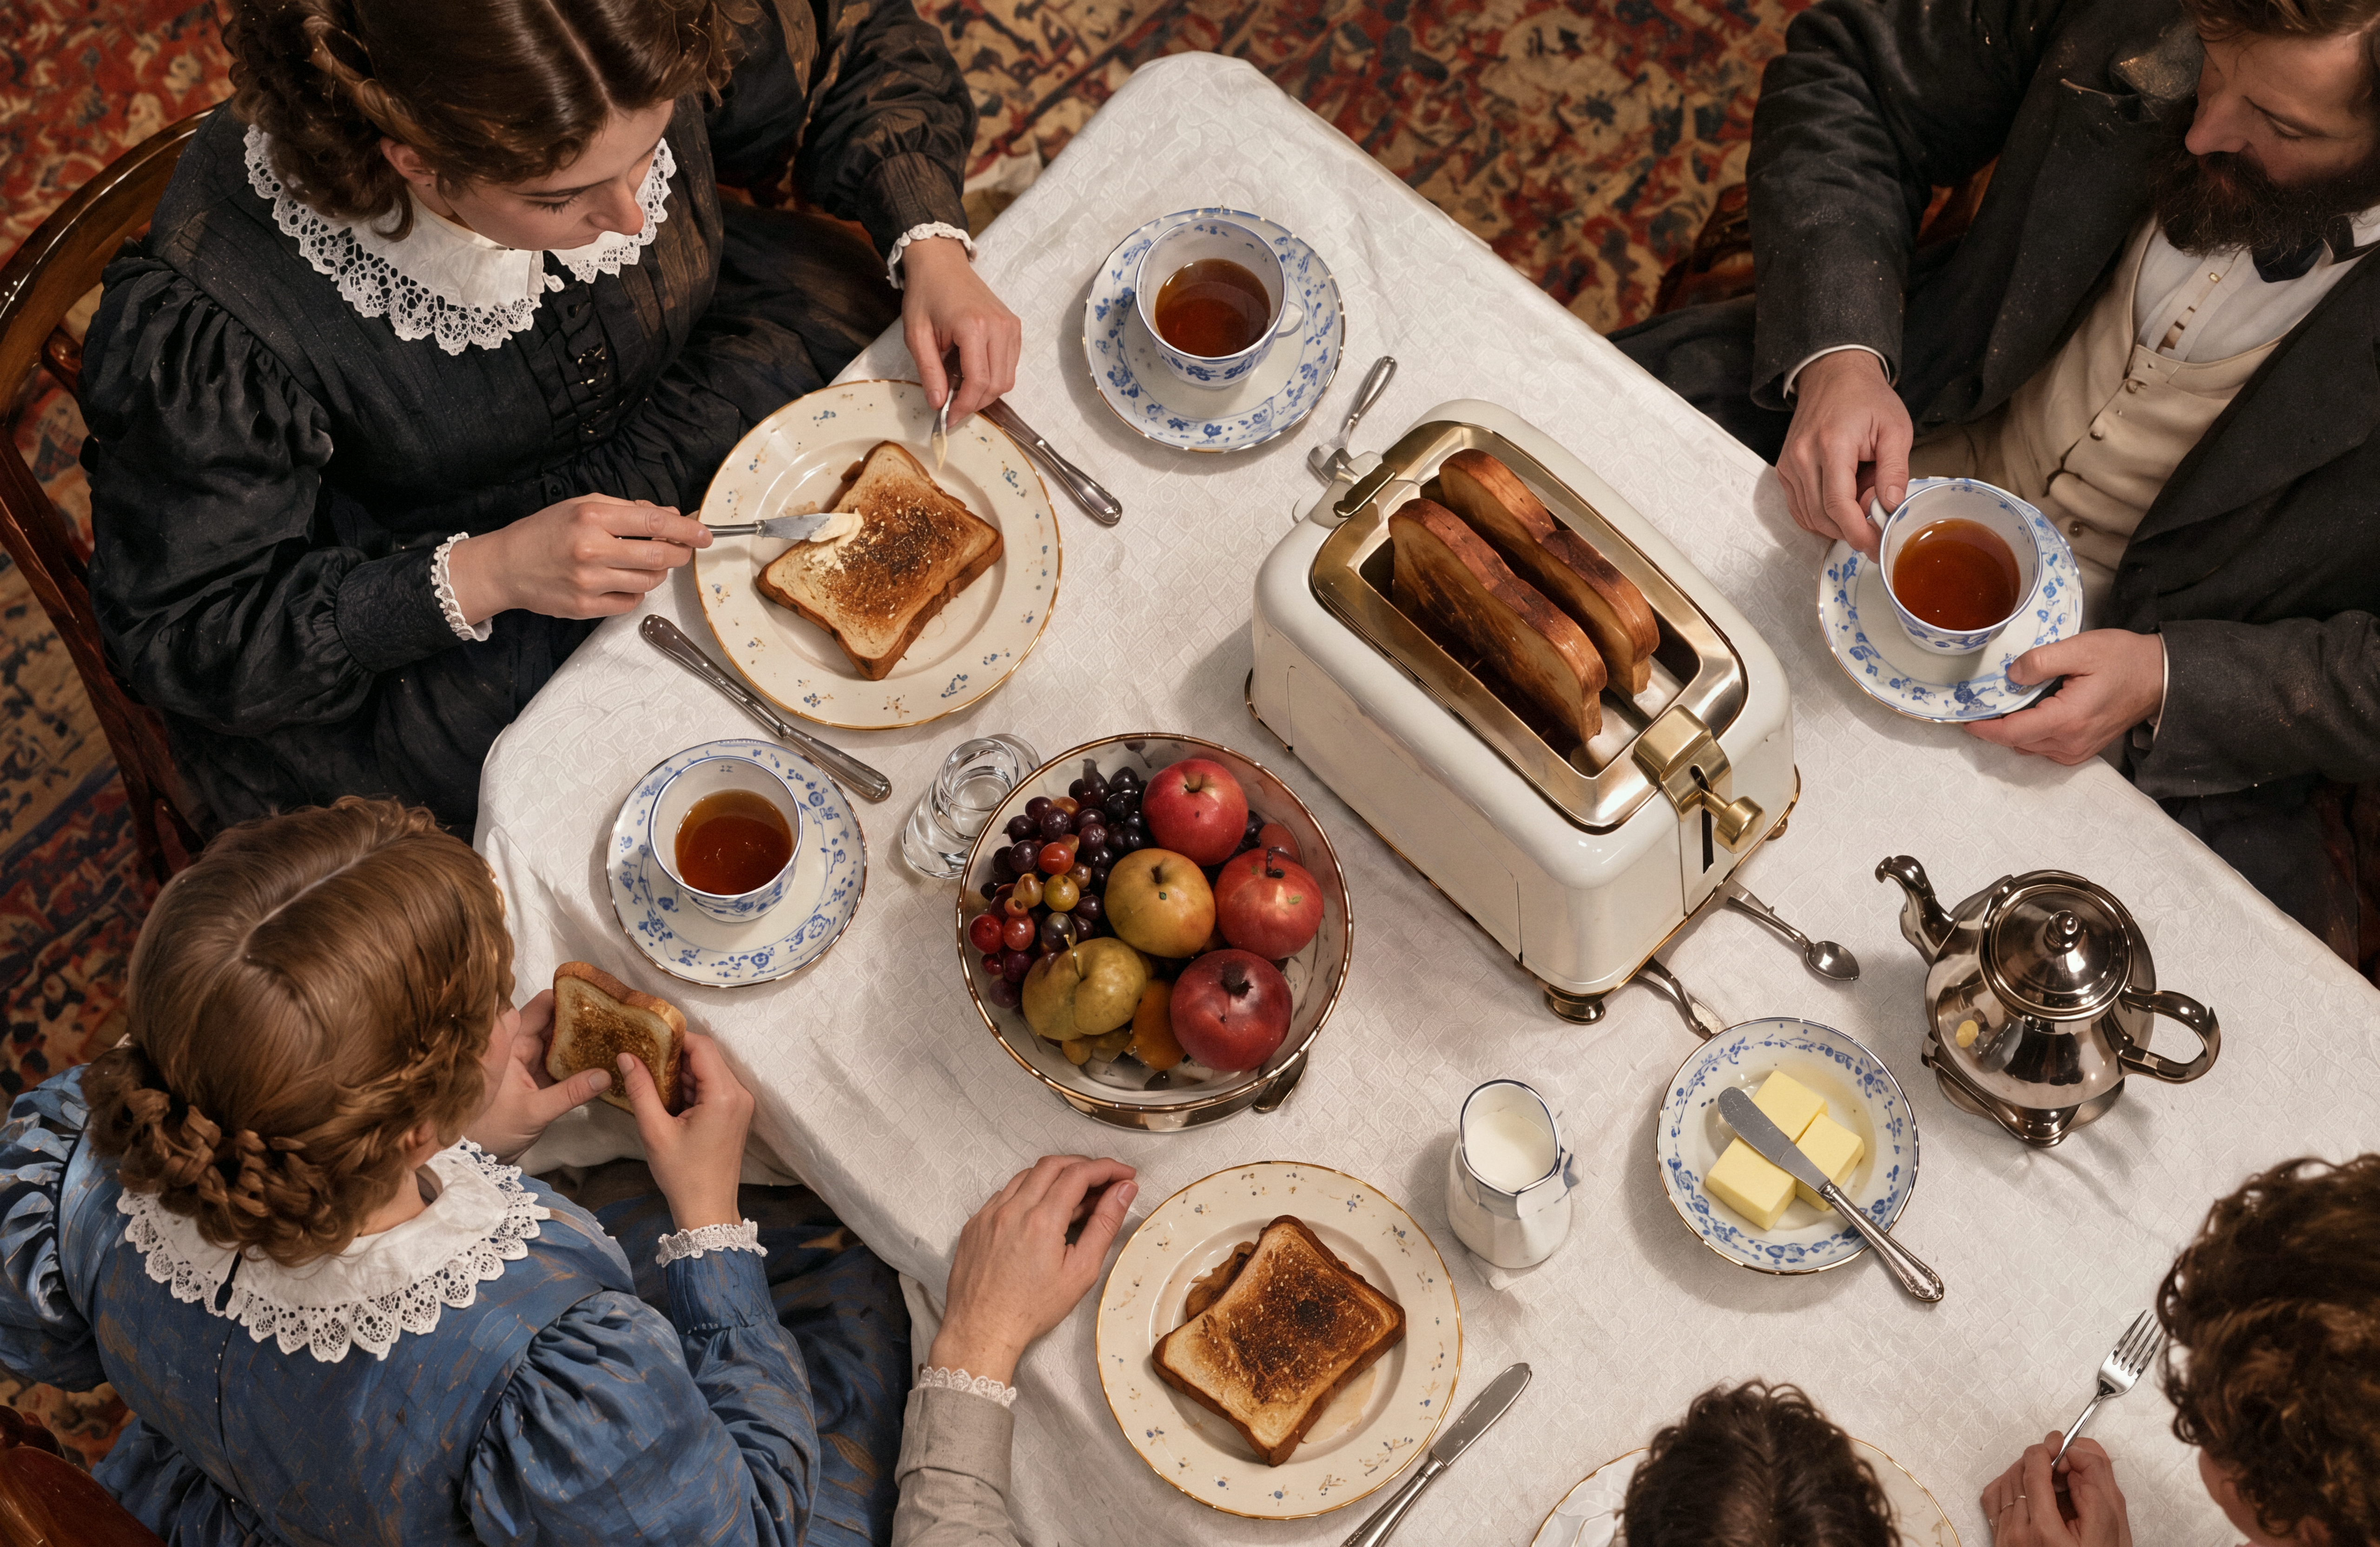 Proposed object repairs
Loading comparison…Image could not load. Open its PNG under Inspect files.
Loading comparison…Image could not load. Open its PNG under Inspect files.
Inspect files 100% view & native PNGs
Local repairs to the fork, shaker and toaster control, before the image-matching check. Both images include the same final grain procedure.
Close-ups use 16:9 windows around matching detail locations, widened with surrounding source pixels and shifted inward at image edges. Reconstruction can move or redraw details; these views are not registered.
Cleanup before object repairs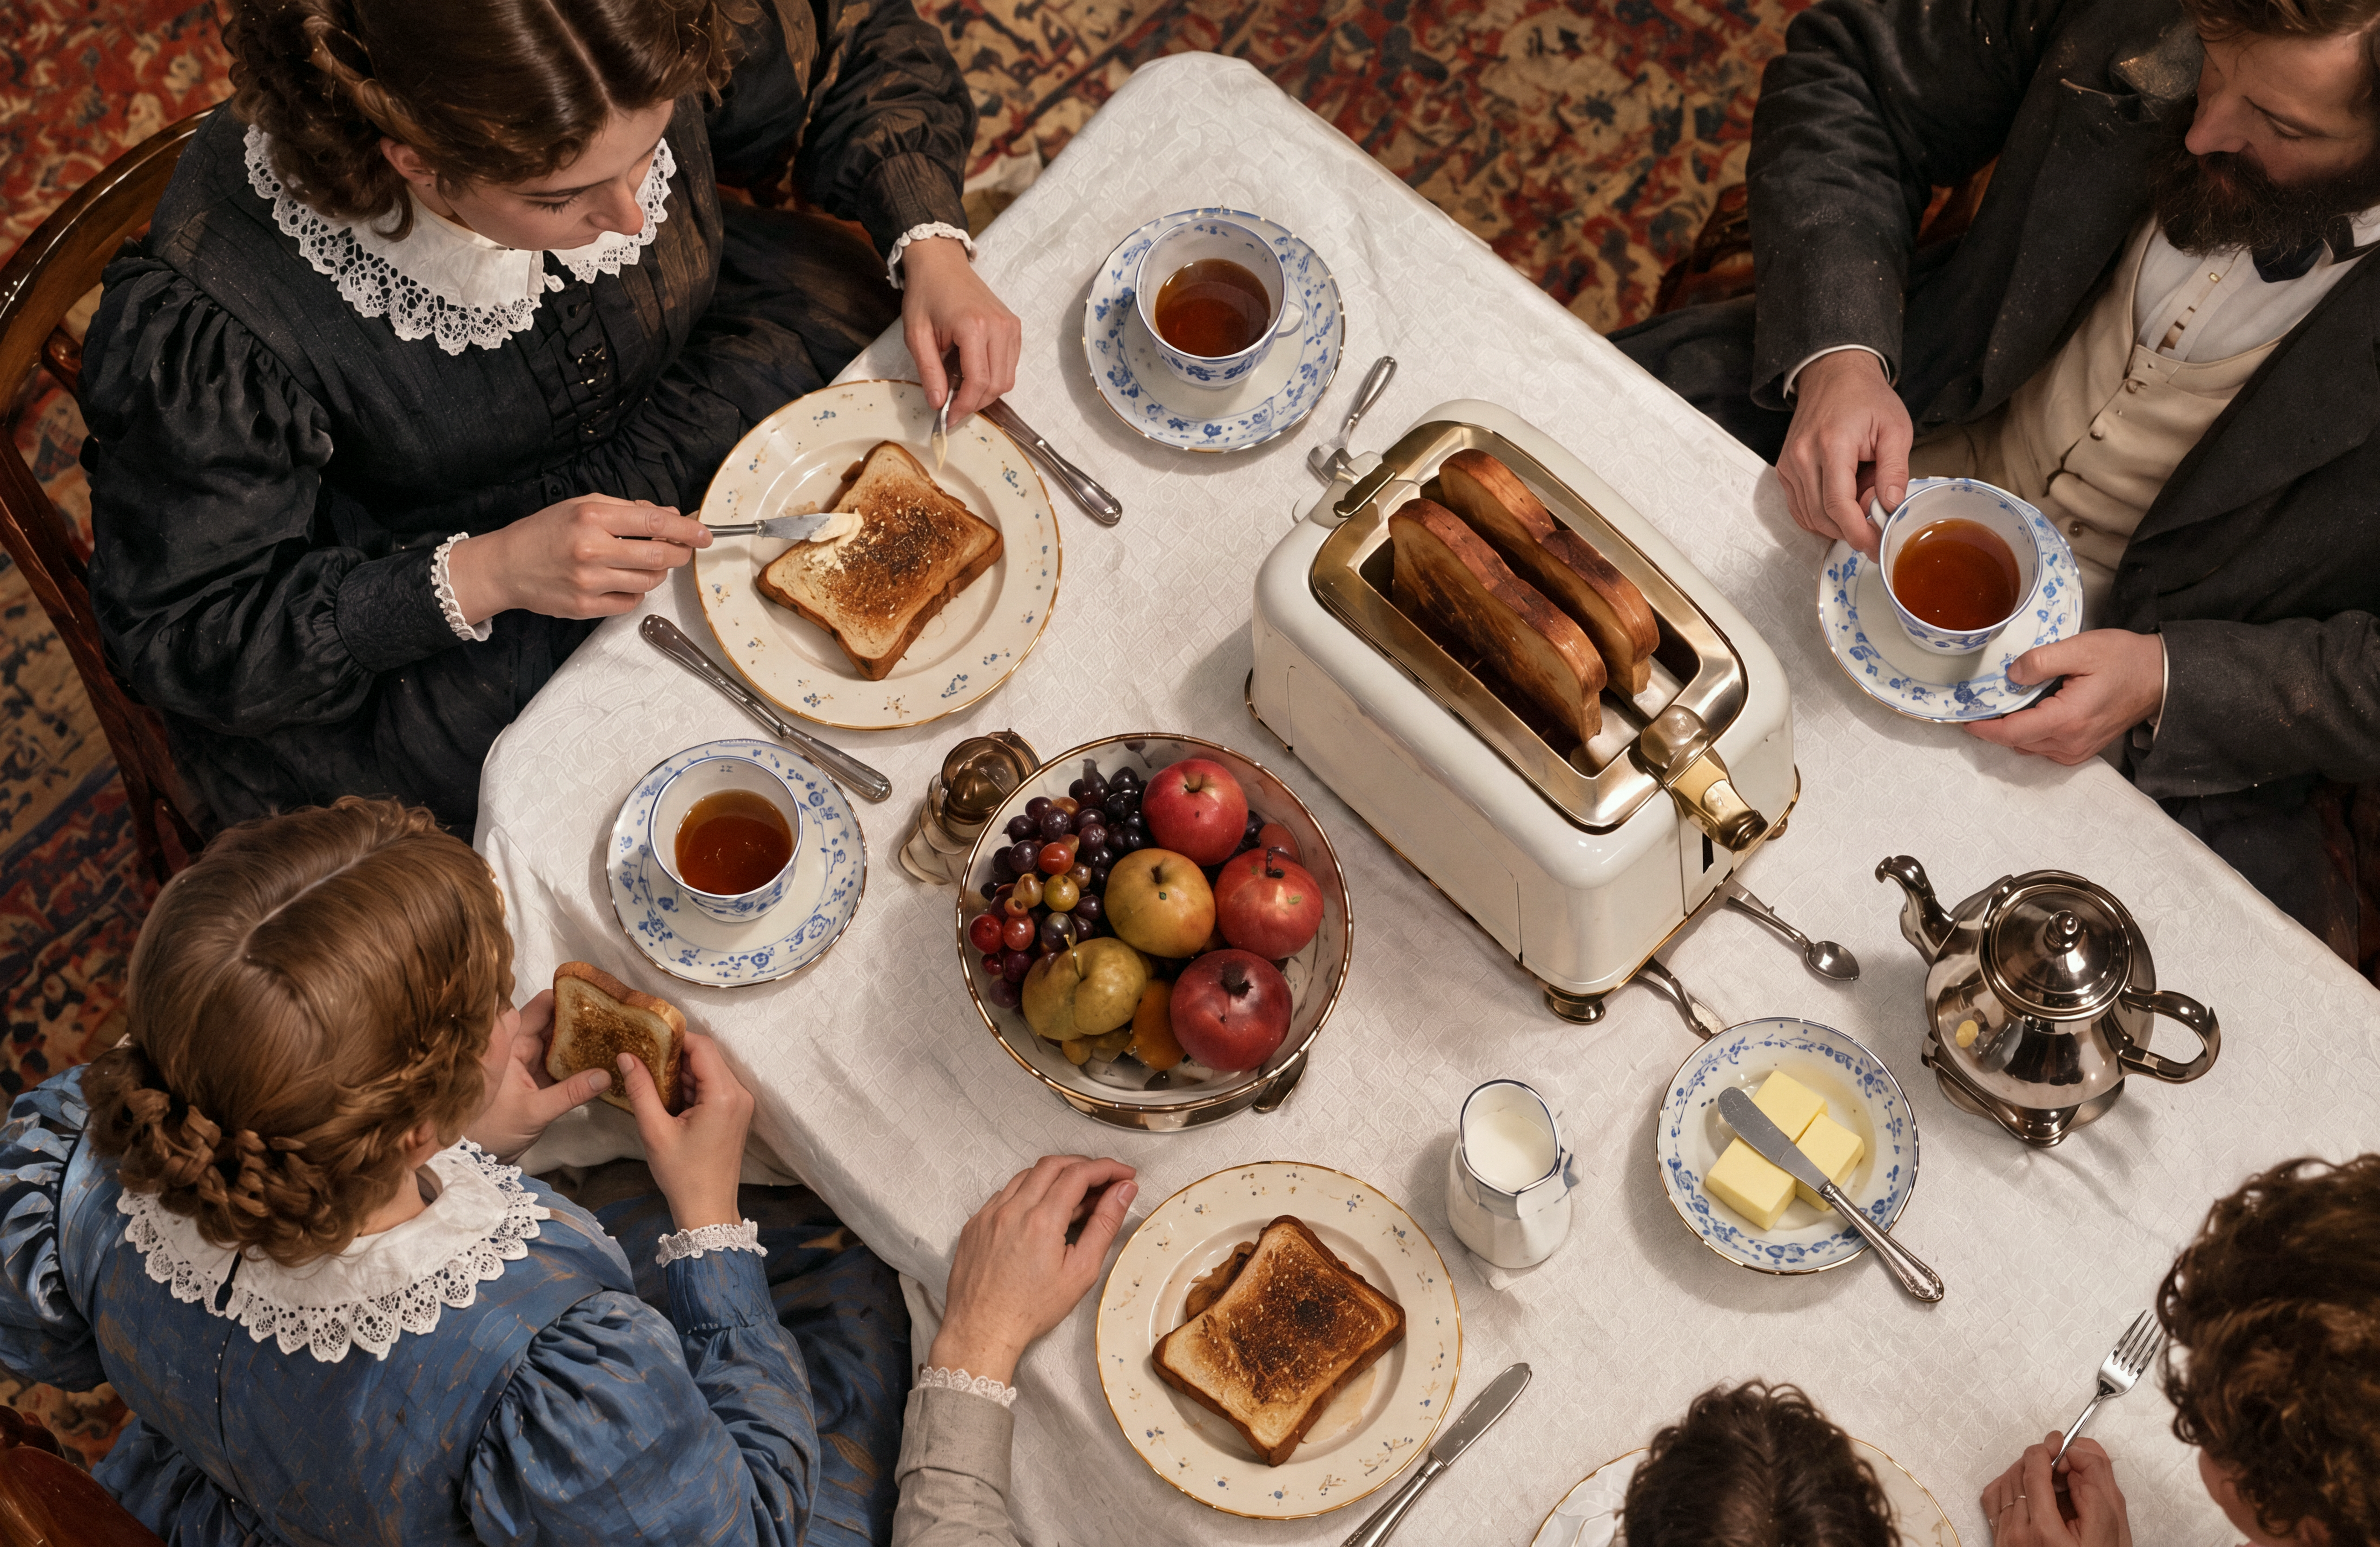 Retained object repairs
Loading comparison…Image could not load. Open its PNG under Inspect files.
Loading comparison…Image could not load. Open its PNG under Inspect files.
Inspect files 100% view & native PNGs
The image-matching check kept the fork repair and left the shaker and toaster control as they were. Both images include the same final grain procedure.
Close-ups use 16:9 windows around matching detail locations, widened with surrounding source pixels and shifted inward at image edges. Reconstruction can move or redraw details; these views are not registered.
Local repairs to small objects. Compare the toaster control and fork, then switch to the version after the fit check. Both use the same cleaned image as their starting point.
Check what survived the cleanup
Looking sharper does not mean the details survived. We check whether the texture is still in the same places and whether its strength changed. The equation separates finer and broader detail for comparison.
In the subtraction test, both measures stayed close to the original, matching its barely changed appearance. These scores check that experiment, not the full cleanup’s success rate. We still inspect the materials, text and objects in each result.
Ω is the original’s calm-region mask, shared by both fine-band measurements.
What caused it?
We can measure the pattern, but we cannot see inside GPT Image to establish its cause. Research on checkerboard artifacts and neighboring pixels shows how enlarging images inside a model can leave repeating traces. GPT-ImgEval suggested an internal upscaling step for an earlier GPT-4o image model. That gives us a possible direction to investigate, not an explanation we can claim for Image 2.
Questions about GPT Image 2 grain
Can you fix GPT Image 2 grain with prompts or a new chat?
The community reports are mixed. Some people describe improvement; others see the texture in a new chat or after explicitly asking for a smooth result. These selected reports do not establish a dependable prompt fix. Our tests work on the image already generated.
Is the grime a watermark?
Our measurements do not establish that. OpenAI describes an imperceptible, content-specific watermark in its Image 2 system card, and discusses SynthID and provenance. Neither source connects it to the visible dirty texture.
Can you remove grain without losing image detail?
We use cleanup and upscaling to add useful detail as well as remove grain. Fabric can gain a more convincing weave; a muddled small object can become clearer. The aim is to enrich the image while keeping its composition, character and materials intact. These are newly generated details, so there is a fine line between improving something and changing what it is. Our checks help manage that balance; the full images and close-ups let you judge it.
Measurements, sources and limits
Measurements, sources and limits
Measured sample. We read 58,429 of 58,430 listed images; one was unreadable. The GPT subset contains 25,599 Image 2 and 12,109 Image 2.5 outputs from 982 people, dated May 2–October 23, 2026. No customer images from that measured sample appear here. The displayed experiments mix our generated fixtures and team test material; they are not a GPT-only source dataset.
Period-2 measurement. Native-size luma, Gaussian σ = 1.5, even dimensions and the three parity sums defined above. The representative cell is the component-wise median of 37,707 individually normalized cells. The 97.4% figure counts positive horizontal and vertical sums in the same global pixel phase. The score depends on image dimensions, filtering and content; it does not identify architecture, intent or watermarking. On even-sized images, the three parity patterns are orthogonal; projecting the centered residual onto them gives P.
Car subtraction control. The source is 2,048 × 1,152. We estimate its zero-mean 2 × 2 residual cell, tile it, subtract it equally from all RGB channels, clip and export a 16-bit PNG. Measurements are repeated on the decoded export. T₂ falls from 5,256.691161 to 0.063617624; the removed residual-energy fraction is 0.006684228466. The largest channel change is 0.754864 on a 0–255 scale. The fine-band mask uses the original’s lower half of σ = 4 gradient magnitudes at native resolution. Fine-band strength ratio is 0.990234 and correlation 0.987553. Thirty-two synthetic Gaussian-noise controls and projection identity checks pass; this is a diagnostic control, not calibration on natural images.
Displayed development results. Five subjects from the fourteen-subject October 26 prototype round are shown: family table, bag, wig, street fashion and car. The car’s saved files form one continuous chain from raw reconstruction through color correction, surface filtering and grain. Replaying the color and grain operations reproduces the saved files pixel for pixel; the surface-only output was also independently reproduced. The color example does not activate the displacement cap. Optional detail repair is absent from this sequence. No saved intermediate image exists for each of the three internal filter scales, so those steps are represented by their equation only.
Street-fashion repeat. The first cleanup added door hardware absent from the original. We reran the same reconstruction settings from the original input and selected the repeat shown here, which avoids that addition. Color correction and light grain followed; no smooth surface was selected and no optional detail repairs ran. This is a selected result, not evidence that reconstruction always preserves objects.
Color equation. X and Y contain centered, blurred RGB samples from reconstruction and source as row vectors; μ gives their means before centering. λ penalizes deviation from the identity map I₃. d is the largest absolute channel displacement over the valid RGB cube; τ bounds it. When d = 0, α = 1. Fitting thresholds and the bound are omitted.
Research process. Yam describes working with GPT-6 Astra and Opus 5.5 on repeated rounds of analysis, implementation and visual review. These are research and coding collaborators, not names for the image-processing steps.
Prototype and browser implementation. The displayed final files come from Python experiments. The surface equation gives the current browser implementation: reduced-resolution Lab processing, conversion of the correction to RGB, bilinear enlargement and masked addition. The prototype splits at full resolution, filters a reduced broad band and blends a bicubically enlarged Lab correction before conversion. These implementations are related, not pixel-equivalent. The browser surface step leaves pixels outside its effective mask unchanged; the prototype’s full Lab round trip can introduce rounding changes there. Later photographic grain acts across the frame. No end-to-end browser benchmark or deployment validation is implied.
Masks and repairs. The visible car mask is the saved processed blend weight after selection, erosion and feathering, at one quarter of the result’s dimensions. The lilac overlay is a display annotation. Six of fourteen development images had at least one accepted surface region; that is not six successful cleanups. The background LLM identifies candidate details before repair; it does not judge the finished repair. A separate check compares broad image appearance. Family repair variants start from the same color-corrected base before grain. The displayed finals apply the same grain procedure after no repairs, all proposed repairs or only retained repairs. Seven of nine proposed crops across three subjects passed the check. In the family example, it kept the fork repair and skipped the shaker and toaster control. This measures similarity, not creative merit: a viewer may prefer a changed object even when the check skips it.
Display. Each comparison opens on a 16:9 close-up around a matching detail location. The crop includes surrounding source pixels and shifts inward at image edges; its height is reduced only when needed to fit the source width. The images are not stretched, sharpened, recolored or registered for display. Full image preserves the complete frame, with native PNG downloads and a 100% viewer. Reconstruction can change geometry and framing, so a moving edge in the slider is not by itself a filtering error. At 100%, one image pixel occupies one CSS pixel; browser zoom and display density affect physical pixels. The linked manifest lists the selected public examples.
Community evidence. Reddit and X-related sources were revisited on October 26. April reports explicitly name Image 2; the September 24 and October 14 reports describe similar symptoms without establishing a model version. These are selected firsthand reports, not a prevalence sample. The linked OpenAI Community thread embeds Boyuan Chen’s April 24 X reply; direct access to X was unavailable during this review. That historical reply does not establish what was fixed or a current commitment. No community images are reproduced.
Limits. Generated materials have no photographed ground truth. The larger measured cohort does not benchmark this cleanup pipeline. The fifteen creative-model comparisons were not blinded and used different native output sizes. The cleanup’s image models, prompts, tuning and thresholds remain private. Our measurements do not establish the internal cause of GPT Image’s visible grime.
- Car subtraction control: measurements and source hash
- New native files, dimensions and hashes
- Reproducible period-2 detector
- Boyuan Chen reply, quoted in the community thread
- Community thread reproducing the reply and users’ attempts
- OpenAI community's Image 2 issue collection
- Reddit report of recurring Image 2 tiling
- Distill, Deconvolution and Checkerboard Artifacts
- Research on upsampling and neighboring-pixel relationships
- GPT-ImgEval, research on an earlier GPT-4o image model
- OpenAI Image 2 system card, image provenance
- OpenAI on SynthID and content provenance
- Existing open-source GPT Image 2 artifact cleaner
- Reddit: image-quality and background complaints
- Reddit: image-to-image comparison and failed prompt changes
- Reddit: enthusiasm and artifact complaints in the same thread
- Reddit: repeated nature textures and the cost of workarounds
- Reddit: odd artifacts and unverified watermark speculation
- Reddit: noise in first generations and after edits
- Reddit: weird texture, fresh-chat failures and mixed prompting results
- Reddit: reference ghosting and sequential-generation reports
- Reddit: thinking-mode suggestions and remaining texture
- He, Sun and Tang: Guided Image Filtering
- Reddit: repeating noise and overly detailed images, April 21
- Reddit: repeated surface noise during edits, September 24; model unspecified
- Reddit: dotted-pattern question, October 14; model unspecified
About the author

Inspect the finish. Keep the version you prefer.
Select an image in Plnty and run Cleanup. The original stays beside the cleaned copy.